 FIG·01
Designing a roof in ArchiMaster 3D starts with the Auto-Roof command, which instantly builds a complete roof structure over any closed wall perimeter. You then refine the automatically generated roof by manually editing individual planes to adjust pitch, overhang, and style. This approach gives you a fast, construction-ready model that you can tweak down to the inch. ArchiMaster’s parametric roof engine treats every plane as a separate intelligent object, so a single change in the Roof Plane Specification dialog updates fascia, gutter, and even framing in real time. For anyone moving from a simpler room planner, the depth of control is significant: you’re not just placing a shape, you’re defining rafters, heel heights, and overhang profiles. If you’re weighing which home design software fits your project, our ArchiMaster 3D vs Sweet Home 3D for beginners comparison shows why a dedicated roof toolset matters.
- Auto-Roof generates a complete roof structure from your floor plan in one click, producing hips, gables, and ridges automatically.
- Every roof plane is an independent object: adjust pitch, baseline height, and overhang without rebuilding the entire roof.
- Dormers, skylights, and roof openings integrate automatically; the roof cuts around them once placed, and you can resize them later.
- Enabling the framing layer reveals a true 3D roof framing model that you can dimension for construction documents and material lists.
- Real-world dimensions (for example, 12-inch overhang, 8:12 pitch) drive the engine, so your virtual model matches actual build specs.
Step 1: Generate the Base Roof with Auto-Roof
Open your plan and make sure all exterior walls form a closed perimeter. Go to the Build menu, select Roof, then Auto-Roof. A dialog lets you set the default pitch (the factory setting is 6:12) and choose between a hip or gable roof generation style. Click OK, and ArchiMaster analyzes the wall layout and instantly places roof planes, ridges, and valleys. If your design has multiple wings or bump-outs, Auto-Roof creates separate geometric sections that you can merge manually later. This first pass gives you a fully enclosed 3D model that already reacts to sun angle studies and renders with realistic shingle textures. Even on complex floorplans the automated result is typically 80–90% of the way to a final design, which saves hours of manual drawing.
Edit Roof Planes Manually to Refine the Shape
After generation, select any roof plane and open its specification dialog. Here you can change the roof style per plane: switch a hip to a gable by deleting one plane and dragging the adjacent plane to fill the gable end, or create a shed roof by assigning a single-plane slope. The manual editing tools are where ArchiMaster differentiates itself. Right-click a plane and choose Edit Plane; then drag its edges, adjust the baseline height, or lock the pitch while raising the ridge. The roof planes snap to one another intelligently, so you don’t need to calculate intersection lines. A common pro move: use the “Join Roof Planes” tool to cleanly merge two sections where a dormer or porch roof meets the main structure, eliminating visible seam lines in 3D views.
Dial In Pitch, Overhang, and Fascia Dimensions
Precise pitch ratios and overhang lengths make the difference between a generic 3D box and a real architectural model. In the Roof Plane Specification dialog, enter a rise-over-run pitch such as 8–12 (typical for many US homes) or 12–12 for a steep cottage style. The overhang field defaults to 12 inches, but you can set different values for the eave and gable edges separately. Check the rafter tail and fascia board details: ArchiMaster includes options for square-cut tails, plumb cuts, and custom moldings from the library. When you increase the overhang, the software automatically extends the sub-fascia and fascia to match, and the gutters in the material list update accordingly. This dialed-in control is why designers often move from generic 3D tools to a purpose-built solution like ArchiMaster.

“The roof is not just a hat for your house; it defines the entire architectural character. A single change in pitch can turn a cottage into a contemporary statement.”, ArchiMaster 3D Design Team
Add Dormers, Skylights, and Roof Openings
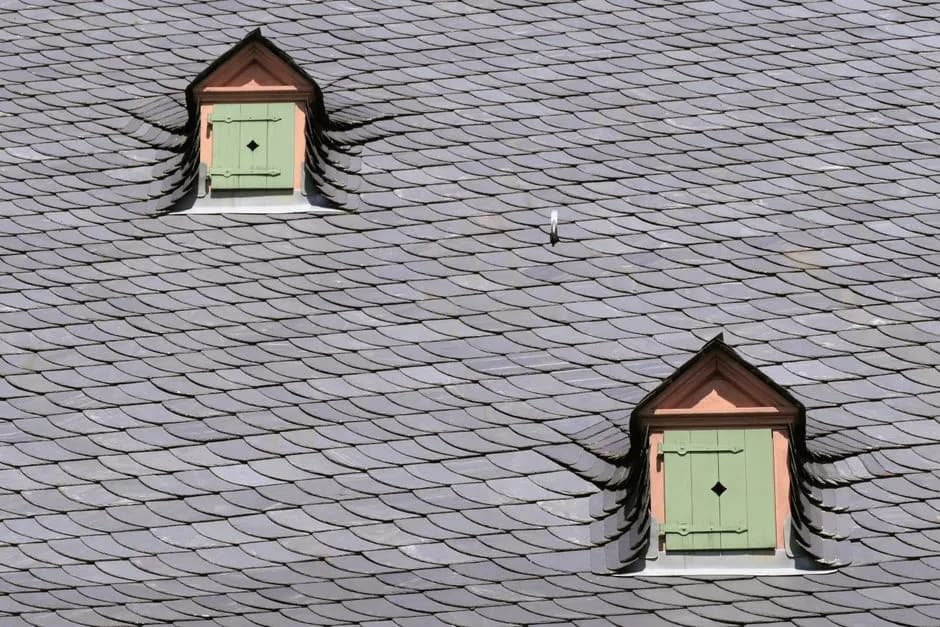
Dormers open up attic space and add curb appeal, and ArchiMaster makes them straightforward. Choose Build > Roof > Dormer, then click on a roof plane to place a gable, shed, or hip dormer. The dormer dialog lets you set the width, height, and setback from the ridge, and the roof plane automatically cuts the opening. For skylights, use the Window menu and select Skylight; snap it onto a roof plane, and ArchiMaster cuts the roof hole and frames it with a curb if you activate the framing layer. If you need a custom opening for a roof deck or chimney, the Roof Hole tool gives you precise control. All openings remain fully parametric: move a dormer and the roof cutout follows. For material estimates, the roof framing engine recalculates rafter lengths and numbers instantly.
Generate Framing Plans and Material Lists
Once the roof geometry is final, turn on the roof framing layer to see rafters, ridge boards, collar ties, and blocking. ArchiMaster builds this framework automatically based on the roof plane settings and your default framing preferences. You can then dimension the framing plan directly on the 2D sheet or export a materials list that includes lumber sizes and quantities. This output is detailed enough for contractor estimates; it lists every rafter length and count, ridge board, and sheathing area. The framing engine is included in the Ultimate Home Design edition, which you can review on the pricing page alongside other tiers. Many users request a permit-ready roof plan; the combination of automatic framing and manual edits delivers a professional set of drawings without requiring a separate CAD tool.
Start designing with the professional-grade roof toolkit in ArchiMaster 3D. Choose the edition that fits your project.
View Editions- Can I create a curved or complex organic roof shape in ArchiMaster 3D?
- ArchiMaster handles standard roof geometries, hip, gable, shed, gambrel, and combinations, natively. For truly freeform curves, the Expert edition includes custom 3D modeling tools that let you sculpt shapes and apply roof textures. You can also approximate a curved roof by placing multiple adjoining planes and smoothing their junction with a rendered material. For most residential designs, the existing plane editing plus dormer tools cover every practical roof form.
- Does the roof tool include gutters and downspouts?
- Yes. The library includes parametric gutter profiles that you can apply to any roof edge, and the overhang setting controls where the gutter sits. Downspouts are separate objects that you can place and adjust. When you change roof overhang, the gutter updates automatically. The materials list even reports linear feet of gutter, which is helpful for estimating.
- How do I make sure my roof design meets building codes?
- ArchiMaster lets you set the exact pitch, overhang, and structural grid you intend to build, but it does not perform structural code analysis. Use the framing plan as a guide for your engineer or truss manufacturer. The tool helps you visualize and communicate the design; always verify loads, snow requirements, and wind uplift with a licensed professional. For permit drawings, the dimensioned roof plan and elevation views are typically sufficient.
- Can I add solar panels to my roof model?
- Absolutely. The ArchiMaster library includes photovoltaic panel symbols that snap to roof planes. You can array them to fill a section, and the rendering engine shows realistic panel appearance and shadows. This is especially useful for sun studies: you can run a solar animation to see shading throughout the day and year, then adjust panel layout for maximum exposure.
Ready to design with confidence?
See which edition fits the space you’re designing.