

 FIG·01
To change roof pitch in ArchiMaster 3D after drawing walls, select the roof plane in 2D or 3D view, open the Properties panel, and type a new angle in degrees or a rise/run ratio such as 4:12 or 8:12. You do not need to delete walls or redraw the plan; the roof recalculates from the existing wall footprint. The same panel controls overhang, ridge height, eave height, and whether the edit applies to one gable slope, an opposite pair, or all hip faces. Use the 3D camera after each slope change to check the fascia, rake, and wall-plate intersection before exporting construction views.
- ArchiMaster 3D stores pitch per roof plane, so a gable face and a hip face on the same plan can carry different slopes.
- Changing pitch after walls are drawn changes rafter length and ridge location, but it does not automatically repair wall top plates; check attic wall heights after the edit.
- Overhang is measured horizontally from the exterior wall face to the fascia edge, not along the rafter slope.
- A slope of 18.4 degrees is the same as a 4:12 pitch; entering either value gives the same roof angle.
- Save a copy of the plan before roof edits because pitch changes can cascade into wall intersections, valleys, and dormers.
“A roof pitch edit is a wall-height edit in disguise. Change the slope, then inspect the plate line before you trust the render.”, ArchiMaster 3D roof modeling workflow
Where Roof Pitch Settings Live in ArchiMaster 3D
In ArchiMaster 3D, the roof is a smart assembly generated from the wall polygon. After you draw walls and add a roof, the roof appears as its own editable object. In 2D plan view, click the roof edge or the roof fill; in 3D view, click the sloped face. The Properties panel on the right side of the Windows workspace shows roof-specific fields: pitch angle, rise/run, overhang, ridge height, fascia height, and roof type. If you see only generic object properties, the roof is probably grouped or locked; select the roof, open the context menu, and choose Ungroup or Edit Roof, then click the face again. All four ArchiMaster 3D editions share this roof property engine, while Expert and Ultimate Home Design add manual roof planes for compound slopes. If you are new to the editor, review what 3D home design software does to understand why roof objects stay separate from wall objects.
How to Change Gable Roof Pitch
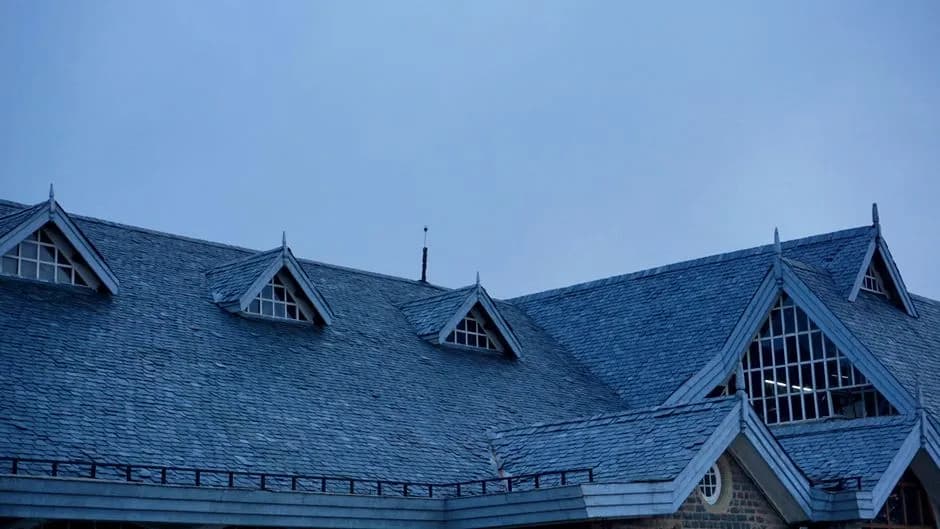
A gable roof has two sloped planes that meet at a central ridge. To change only the gable slope, click one sloped plane, then open Properties. Change the Pitch or Slope value from the current ratio, for example from 6:12 to 8:12. The opposite gable plane normally recalculates to the same value if the roof was created as a single gable object. If the opposite face does not move, select both faces with Ctrl+click and type the new slope once. A steeper pitch raises the ridge while the eave line stays fixed; a shallower pitch lowers the ridge. After entering the slope, orbit to the gable end in 3D to check the rake overhang, fascia alignment, and any gap between the wall top and the sloping roof plane.
Set the Pitch Before You Move the Ridge
The order of operations matters. Set the pitch first, inspect the resulting ridge height, then enter a specific ridge height only if the plan requires a hard ceiling dimension. If you type ridge height first and then change pitch, the pitch field can overwrite the ridge height and the roof appears to jump back. On remodel plans, this sequence also preserves the original eave line, which is usually the dimension you want to hold while testing a new roof slope.
How to Change Hip Roof Pitch
A hip roof has four sloped planes and no vertical gable end. In ArchiMaster 3D, a standard hip roof is often one assembly with editable hips. Click any hip face, open Properties, and enter a new pitch to change all hip slopes at once. If the roof was modeled as separate manual roof faces, use Ctrl+click to select all hip planes before typing a value. On L-shaped or T-shaped footprints, changing only one hip can create unequal overhangs at the valley. After the pitch edit, orbit to the valley line in 3D and verify that both roof planes meet cleanly with the same fascia projection.
Gable-to-Hip Conversion Without Redrawing
You do not need to delete the roof to switch from gable to hip. In the roof Properties panel, change Roof Type from Gable to Hip. ArchiMaster 3D re-frames the footprint into four slopes while carrying over the current pitch, overhang, and fascia settings. The same method works in reverse when a hip roof must become a gable to create attic headroom. This is faster and more predictable than drawing a new roof object, especially on an existing floor plan with dormers or stepped walls.
Adjusting Overhang, Eave Height, and Ridge Height
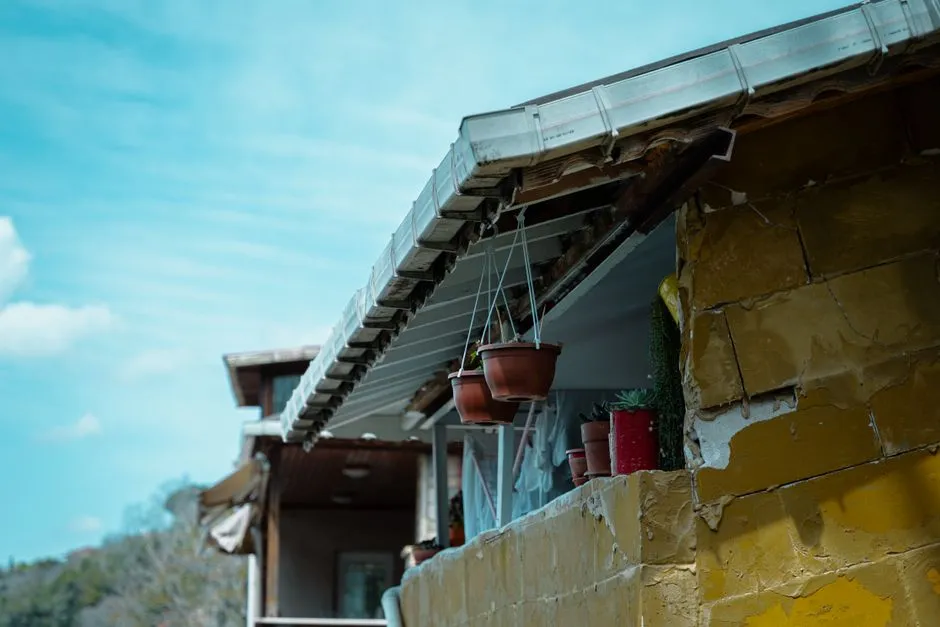
Roof pitch rarely changes alone. A steeper pitch raises the ridge and increases rafter length, which changes eave projection if the fascia stays at the same elevation. In Properties, Overhang is measured horizontally from the outside face of the wall framing to the outside edge of the fascia. A 600 mm overhang on a 4:12 roof is still 600 mm horizontally on an 8:12 roof, but the rafter length grows. Ridge height sets the top of the ridge board relative to the floor or terrain. Eave height or Fascia height controls the lower edge. When you raise pitch, keep the eave height fixed and let the ridge rise, unless a local height limit caps the ridge. Make one field change at a time so the 3D view reflects the exact edit.
- Click the roof face in 2D, not the wall. Clicking a wall opens wall properties instead of roof properties.
- Set pitch first, then overhang. Overhang is independent of slope but affects fascia location and drip edge.
- Check ridge height after the pitch change to stay under any zone, HOA, or permit height limit.
- Save a named 3D view of the eave intersection before and after the edit for an easy before/after check.
- If the roof auto-rebuilds in an unexpected way, undo once and change one roof field at a time.
Fixing Wall and Plate Issues After a Pitch Change
When you change roof pitch on an existing floor plan, the wall top plate can stay at its original elevation even though the new rafter line crosses it differently. A steeper gable pitch raises the ridge and leaves the eave line intact, so the side wall may not need to change. A shallower pitch lowers the ridge, sometimes creating an open gap between the wall top and the rafter if the wall was built to the old roof. Select each exterior wall under the new roof and choose Attach to roof or Raise to roof so the wall top follows the new slope. Then open the room's ceiling or attic wall height and check the plate line in a section view. A roof render can look correct while the wall framing is still disconnected, so this check is the difference between a visual model and a buildable plan.
Roof Pitch for Covered Decks and Porches
For a covered deck or porch, ArchiMaster 3D lets you attach a shed roof to the exterior wall at the ledger. Select the deck roof plane and adjust pitch exactly like a house roof. A slope of 1:12 to 2:12 is common for metal or membrane roofing; 3:12 or steeper is easier to shingle and sheds snow better. Keep the overhang at least 300 mm beyond the deck rim to move water away from the deck boards. After the roof slope and overhang are set, use the same model to check ground-level deck and fire pit clearances or prepare a permit-ready deck plan.
Common Pitch-Change Errors and How to Avoid Them
The most common error is changing pitch on a locked or grouped roof object and seeing no update. Unlock the roof first. Another error is editing a roof face in 2D when a wall is selected behind it; use a top-down plan and the Tab key to cycle through overlapping objects. If the fascia disappears after a shallow pitch change, lower the eave height slightly or reduce the overhang. If the ridge does not move, the roof may be set to a fixed ridge height; clear that field or set it to Auto before changing pitch. For remodel and addition projects, compare the new slope against the original roof's rise over run rather than the angle only, because matching existing fascia lines is easier in ratio form.
- How do I change roof pitch in ArchiMaster 3D after drawing walls?
- Select the roof plane in 2D or 3D view, open the Properties panel, and type a new pitch angle in degrees or a rise/run ratio such as 4:12. You do not need to redraw walls; the roof recalculates from the existing wall footprint.
- Can I set different pitches for gable and hip roofs in ArchiMaster 3D?
- Yes. ArchiMaster 3D stores pitch per roof plane. A gable face and a hip face on the same plan can carry different slopes, and you can also convert a gable roof to a hip roof from the roof type field without deleting the roof.
- Why won't my roof pitch change when I type a new angle?
- The roof is likely grouped or locked. Select the roof, choose Ungroup or Edit Roof from the context menu, click the sloped face again, and then edit the pitch. If the roof has a fixed ridge height, clear that field or set it to Auto.
- How do I adjust roof overhang without changing pitch in ArchiMaster 3D?
- Open the roof plane Properties and change the Overhang field. Overhang is horizontal from the exterior wall face to the fascia edge, so changing it does not alter the pitch angle. Check the fascia and eave in 3D afterward.
- Does changing roof pitch affect wall heights in ArchiMaster 3D?
- It can. The wall top plate may not follow the new roof slope automatically. After a pitch change, select exterior walls and choose Attach to roof or Raise to roof, then verify the wall top in a section view.
Try the roof pitch workflow on your own plan with a free trial of ArchiMaster 3D. The same Properties panel handles gable, hip, overhang, and ridge height in every edition.
Download Free TrialReady to design with confidence?
See which edition fits the space you’re designing.