
 FIG·01
An L-shaped staircase in ArchiMaster 3D is built as two straight stair runs joined by a landing segment at the 90-degree turn, not as a single stair object with one turn. To create it correctly, set the total rise first, split the risers between the lower and upper flights, and make the landing depth equal to the stair width before you adjust tread nosing. The stair tool's property fields for riser height, tread depth, landing length, and turn angle control the whole result. This tutorial walks through the exact inputs, with a code-compliant example you can adapt to any floor-to-floor height.
Key takeaways

- Build an L-shaped stair as two straight runs plus a landing segment; the landing occupies one tread position at the turn.
- For a 36-inch-wide stair, set the landing at least 36 inches deep in the direction of travel to satisfy current IRC landing requirements.
- Use the total rise method: divide floor-to-floor height by a target riser around 7 to 7.5 inches, round up, then divide the total rise by that riser count for the exact riser height.
- Tread depth in ArchiMaster 3D should be set to 10 inches minimum, measured nose to nose, with 1-inch nosing if needed.
- Set the turn to 90 degrees and verify the upper run lands on the floor line before rendering; this avoids the most common gap and headroom errors.
“The landing is a tread, not a pause. Give it the same depth as your stair width and the turn will close itself.”
Why the landing is a tread, not a spacer
In a straight staircase, the number of treads is one fewer than the number of risers. Add a landing at a 90-degree change of direction and that landing acts as one of the tread positions. A lower flight with seven risers has six physical treads before the landing; the landing is the seventh tread position, then the upper flight continues from the landing surface. This is why setting the landing depth to match the stair width matters. If the landing is too shallow, the upper run can start on the landing edge and the turn will appear to have a cut or gap. ArchiMaster 3D's landing segment is designed to close this condition when the values are consistent.
Current International Residential Code minimums give a reliable start: a riser height no more than 7 3/4 inches, a tread depth no less than 10 inches, a stair width no less than 36 inches, and a landing depth no less than the stair width in the direction of travel. Headroom above the stair and landing should be 6 feet 8 inches. These are safety limits, not style rules. Set the stair properties to these values or more generous dimensions and the 3D model will reflect a design a contractor can actually build.
Calculate the riser split for a 90-degree landing
For a measured floor-to-floor height of 108 inches, start with a target riser of 7.2 inches. Divide 108 by 7.2 to get 15.0, so use 15 risers at 7.2 inches. Split the total: assign 7 risers to the lower flight and 8 to the upper flight. The lower flight gets 6 treads plus the landing; the upper flight gets 7 treads plus the finished floor at the top. Adjust the split for your plan, but keep both flights longer than one tread. A one-riser sprint into a landing is rarely code-compliant and looks wrong in 3D.
Step-by-step: model the L-shaped staircase in ArchiMaster 3D
- Open the stair tool and choose the L-shaped or landing stair type from the stair library.
- Set total rise to the measured floor-to-floor height, or let ArchiMaster 3D read the floor level if you have set floor heights.
- Enter a target riser height; the tool computes the riser count; adjust to a whole number.
- Set tread depth to 10 inches minimum and set landing length equal to stair width, at least 36 inches.
- Place the lower run, then set the turn angle to 90 degrees and place the upper run.
- Use the 3D view to check that the landing is flush with both runs and that the top of the upper run meets the upper floor.
The tool's exact labels may vary by edition, but the workflow is consistent across the ArchiMaster 3D products suite because every edition shares the same stair engine. A model created in one edition opens cleanly in another. If you want to test the stair tool before buying, the downloads free trial includes the stair library and the full set of landing and turn controls.
Set the landing as a segment, not a single step
The biggest setup mistake is replacing a turn with a single angled tread or a winder. In ArchiMaster 3D, select the landing segment option and specify its depth as a dimension, not as another riser. A landing with a depth of 42 inches and a width of 36 inches gives a comfortable turn for moving furniture. If the upper run does not snap to the landing edge, reduce the upper run start by one tread depth or check that the turn angle is exactly 90 degrees. A 90.5-degree turn will leave a hairline gap that becomes visible in photorealistic rendering.
The exact tread, riser, and turn settings that close the model
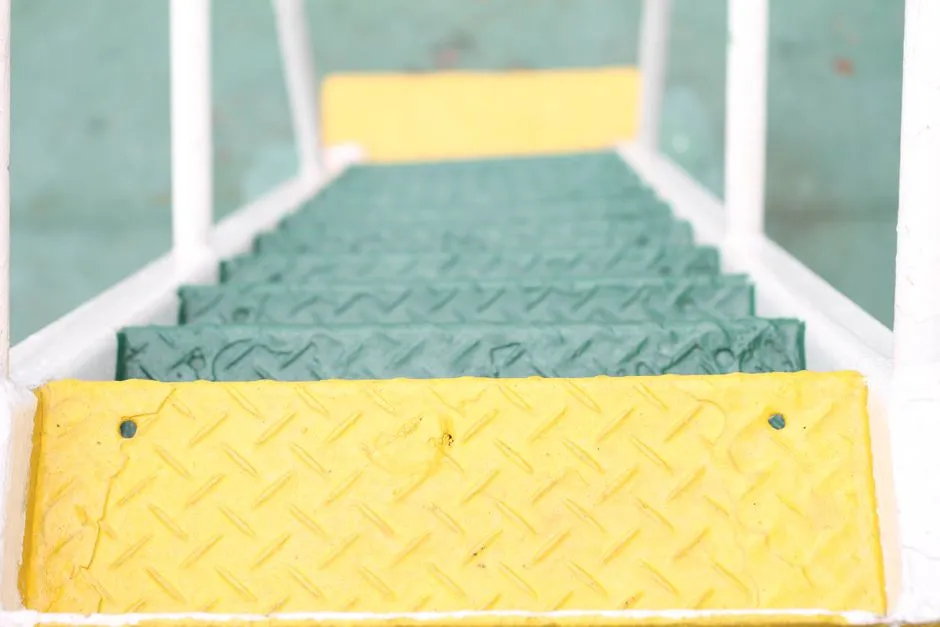
- Tread depth: 10 inches minimum, 11 inches comfortable, with 1-inch nosing included.
- Riser height: 7 3/4 inches maximum, 7 to 7.5 inches preferred.
- Landing depth: equal to stair width, 36 inches minimum, 42 to 48 inches for a turn with a door at the top.
- Turn angle: 90.0 degrees, never 89 or 91 in an L-shaped plan.
- Stair width: 36 inches minimum, 42 inches if the stair serves main living or bedroom levels.
These settings are for a typical 108-inch rise, but the formulas scale. For any height, divide total rise by 7.2 and round to a whole riser count. The landing depth is independent of the riser count because the landing is a platform at the turn, not an additional rise. ArchiMaster 3D's home-design-software approach keeps the stair, landing, and railing as one connected assembly, which means editing the riser count after placement will adjust the whole run without breaking the turn.
Common errors that leave gaps or break headroom
- Landing depth smaller than stair width creates a turn that fails code and leaves the upper run unsupported.
- Rounding riser height instead of dividing total rise exactly can push the top run above or below the floor by half an inch.
- Modeling two separate straight stairs without a landing segment leaves a visible joint and breaks material takeoffs.
- Ignoring floor finish thickness: tile, carpet, or hardwood adds 1/2 to 1 inch to the lower floor and can change the top riser height.
Check the top of the upper run against the upper floor in an elevation or section view. If the top riser is taller than the code maximum, add one riser and adjust the split. Headroom at the landing is the most overlooked clearance. A lower ceiling above the landing can force a longer upper run, which steals floor area from the room below. ArchiMaster 3D's camera tools let you walk the staircase in 3D before committing to the design.
How the stair tool connects to the rest of your model
L-shaped stairs are often the central circulation move in split-level and addition plans. The same stair settings you use here carry into split-level floor height plans, where two floor elevations meet. Because ArchiMaster 3D is purpose-built for home design, the stair object shares its material and material list data with the rest of the model; the landing surface can be assigned the same hardwood or tile as the adjacent room. Compare editions on the pricing page to see which version includes the stair library and photorealistic walkthrough tools.
Frequently asked questions
- What is the minimum size for an L-shaped staircase landing in ArchiMaster 3D?
- Set the landing at least as deep as the stair width and no less than 36 inches in the direction of travel. For a 36-inch-wide staircase, the landing is 36 by 36 inches. For a 42-inch main stair, use a 42-inch-deep landing.
- How many risers do I need for a 9-foot ceiling?
- Measure the actual floor-to-floor height, not the ceiling height. A 9-foot ceiling with 10-inch floor structure often measures about 118 to 120 inches. Divide by 7.2 and round up; a typical result is 17 risers at just over 7 inches.
- Can ArchiMaster 3D create the 90-degree turn automatically?
- Yes. When you select the L-shaped or landing stair type and set the turn angle to 90 degrees, the software places a landing segment between the two runs. You still need to enter the landing depth and confirm the upper run ends at the upper floor.
- Why does my upper flight start above or below the landing?
- Check that the turn angle is exactly 90.0 degrees and that the landing depth equals the landing dimension in the stair properties. Also confirm that the total rise and riser count use the exact measured floor-to-floor height, including floor finishes.
Test the stair tool with a code-compliant L-shaped staircase. Download the free trial and open the stair library in any ArchiMaster 3D edition.
Download free trial- Who
- Written by Ahmed El Alaoui, editorial direction & marketing analytics at Richdale AI, the company behind ArchiMaster 3D.
- How
- Drafted with AI assistance from the ArchiMaster 3D Expert feature set and checked claim by claim against the product fact sheet on Sep 1, 2026. Photographs are stock illustrations, not renders from the software.
- Why
- Help designers and serious self-builders understand what working drawings and building objects do for a project.
Ready to design with confidence?
See which edition fits the space you’re designing.