
 FIG·01
To generate a board-by-board cut list for a built-in wardrobe in ArchiMaster 3D, model the wardrobe as individual panels and cabinet parts, assign a sheet material to each, then run the Cut List or Material Takeoff report. The report returns board dimensions, quantities, material, edge treatment, and drill or shelf pin notes for every carcass side, fixed shelf, door, and drawer front. This is the workflow used by cabinetmakers and detail-oriented remodelers who need shop-ready sheets, not a single undefined wardrobe object. Built-in wardrobes fail at the point of assembly when a cut list omits an interior divider or assumes the wrong sheet thickness. By modeling at board level in home design software, you catch those gaps before the first saw cut.
- Model the wardrobe from separate cabinet parts: side panels, top and bottom panels, fixed shelves, adjustable shelves, doors, and drawers so the cut list reports every board instead of one combined fixture.
- Set the sheet material before drawing the carcass: 18 mm birch plywood and 18 mm melamine produce different edge banding and drill defaults.
- Shelf pin holes, hinge cup holes, and drawer slide holes appear in the cut list or a companion drill report when you enable them in the component settings.
- The cut list export includes board name, length, width, thickness, quantity, grain direction, and edge banding. Check waste and kerf assumptions before sending it to the shop.
“A cut list is not a shopping list. It is a promise that every board will fit through the doorway and into the opening you measured.”, ArchiMaster 3D Journal
Model the Opening and Set the Carcass Size
Start in a wall elevation view or 3D camera. Draw the wardrobe opening using wall dimensions, ceiling height, and floor-to-ceiling clearance. A true floor-to-ceiling built-in leaves no top gap, so the top panel thickness must be subtracted from the finished height. If the ceiling is 2,440 mm and the top and bottom panels are 18 mm each, the side panels are 2,404 mm tall. Set the finished depth to fit the room, typically 600 mm for hanging clothes, with a 50 mm to 100 mm scribe allowance on each side for out-of-plaster walls. Before you lock the depth, model a 1.2 m standing zone in front, the same clearance test covered in our kitchen island clearance walkthrough. The software can dimension the opening and snap panels to the wall surfaces.
Model the Carcass Board by Board
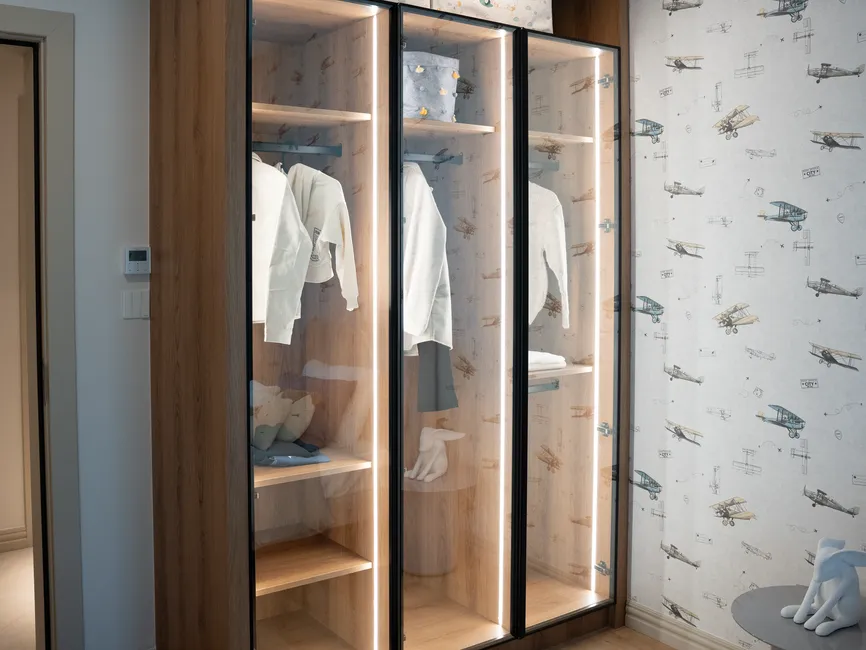
Use the cabinet or custom furniture tools to drop in individual boards rather than a stock wardrobe. ArchiMaster 3D treats cabinet parts as parametric boards, so a side panel is a named component with real dimensions, not a line. Add two side panels, a top panel, a bottom panel, and interior dividers at the widths that match your hanging and shelf zones. For a 3,000 mm wide wardrobe, two dividers at 1,000 mm centers create three bays: one double hanging, one single hanging, and one shelf stack. Set the back panel separately, usually 12 mm to 18 mm, and locate it in a rebate or behind the sides. Because every piece is a component, the cut list can report a board number for each. If you stretch a single cabinet object instead, the report may only return a face frame and doors, which is why board-level modeling matters.
Assign Plywood vs Melamine Material Settings
Before modeling further, open the material settings and assign a sheet material to each component. Choose 18 mm birch plywood for painted or clear-finished interiors and 18 mm or 16 mm melamine for white or wood-grain laminate finishes. The material setting controls board thickness, edge banding, drill depth, and even the texture shown in renderings. ArchiMaster 3D's libraries include common sheet goods, but you can create a custom material if your supplier uses 19 mm plywood. When you change a material from 18 mm to 16 mm, dependent dimensions in the model recalculate, and the cut list updates board thickness and edge banding quantities. Use the same material assignment for all interior parts except drawer boxes, which often step down to 12 mm or 15 mm birch plywood. The ArchiMaster 3D suite includes material libraries and cut list reporting across the Expert and Ultimate Home Design editions.
Plywood vs melamine defaults
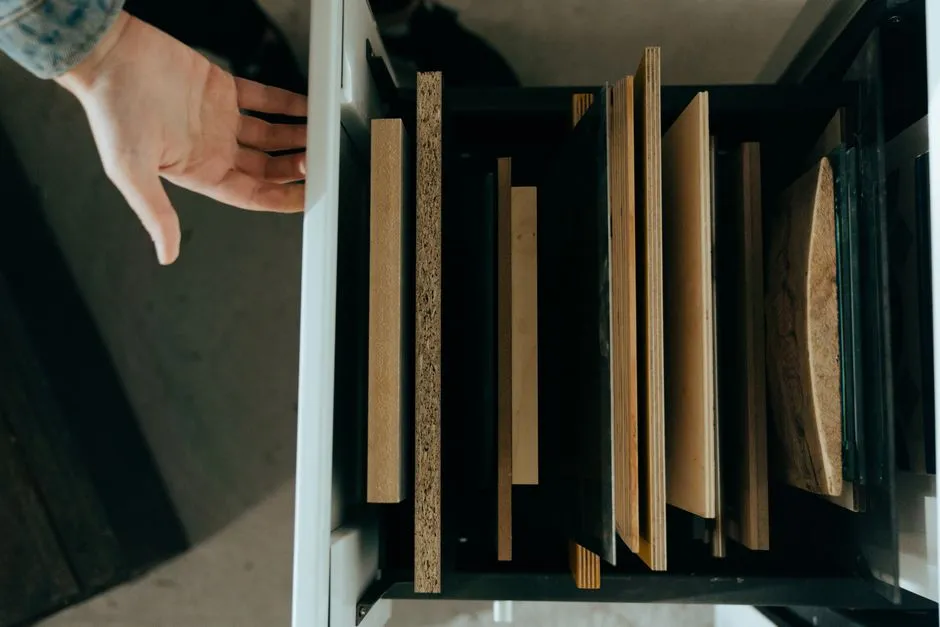
Choose birch plywood when the interior will be clear-finished or painted after assembly. Choose melamine when you want a prefinished, wipeable surface. Plywood edges almost always need edge banding, while melamine panels can often be ordered pre-edged. Set the material before you model doors because the door overlay and hinge cup depth change with board thickness.
Add Shelf Pin Holes and Hinge Allowances
Adjustable shelves and concealed hinges need drilling data. Select each interior side and add a shelf pin hole pattern, usually 5 mm holes at 32 mm spacing, stopped 50 mm from the front and back edges. For fixed shelves, switch to a fixed shelf connection and set the shelf pin holes to none so the cut list does not call for unnecessary drilling. For doors, set the hinge cup pattern to match the hinge you will install: 35 mm cups at 100 mm from the top and bottom edges. The hinge allowance is the gap between the door edge and the cabinet side plus the overlay or inset offset. A 1 mm reveal on a pair of doors changes the door width by 2 mm across the opening. ArchiMaster 3D can link the hinge bore pattern to the door component, so the cut list or drill report includes the bore diameter, depth, and center locations. This is the step that turns a material list into a shop sheet.
Generate the Cut List and Material Takeoff
With the wardrobe fully modeled, open the Cut List or Material Takeoff window. Choose the parts to include: carcass panels, doors, drawer fronts, drawer boxes, back panels, and edge banding. Set the report to group by material and grain direction, and sort boards by length or width so the shop can nest sheets efficiently. The export options in ArchiMaster 3D include a printable report and a CSV or spreadsheet file for board-by-board editing. The report lists each board with its name, quantity, thickness, length, width, material, edge banding, and any drill or shelf pin notes. Before exporting, confirm the kerf and waste factor. Many shops add 3 mm to 5 mm kerf per cut and 10% waste for grain matching. The same material-takeoff logic that produces a permit-ready deck plan applies here: every board has a source, a size, and a destination.

Check the Cut List for Shop Accuracy
A generated cut list is only as good as the model behind it. Before you hand it to a shop, check the board list against these failure points:
- Side panel heights: subtract top and bottom panel thickness from the finished height, then add the toe kick if you plan one.
- Door widths: account for the overlay or inset reveal on both sides, plus the hinge cup distance from the edge.
- Shelf lengths: subtract both side panel thicknesses and any divider thickness from the bay width.
- Back panel: confirm it is set to a rebate depth or overlaid, not inside the full interior depth.
- Grain direction: plywood face grain should run vertically on doors and drawer fronts, horizontally on fixed shelves in most layouts.
Correct the model and regenerate. ArchiMaster 3D updates the cut list instantly when a board size or material changes.
- Does ArchiMaster 3D export a cut list to Excel or CSV?
- Yes. The Cut List and Material Takeoff tools export a board-by-board report as a CSV or spreadsheet file, plus a printable report. The CSV includes board name, quantity, thickness, length, width, material, edge banding, and drill notes so you can edit it in Excel or send it to a shop.
- Which ArchiMaster 3D edition includes cut list reporting?
- Cut list and material takeoff tools are available in ArchiMaster 3D Expert and Ultimate Home Design. The Landscape & Deck and Kitchen & Bath editions focus on their own project types, so for room-scale built-ins use Expert or Ultimate. You can compare editions on the products page.
- Can I include shelf pin holes on a cut list?
- Yes. When you add a shelf pin hole pattern to a side panel, the cut list or drill report includes hole diameter, depth, spacing, and front and back offsets. Fixed shelves can have pin holes disabled to keep the drill sheet clean.
- What material thickness should I use for a floor-to-ceiling wardrobe?
- Use 18 mm for carcass sides, top, bottom, dividers, and fixed shelves. Use 12 mm to 16 mm for back panels and drawer bottoms. For melamine, 16 mm or 18 mm both work, but keep one thickness for all core parts to simplify edge banding and hardware.
- How do I account for edge banding in the cut list?
- Set the edge banding on each board edge in the material settings. The cut list reports which edges are banded and the total linear meters by thickness, so you can order edge tape and calculate trimming time.
Model a floor-to-ceiling built-in with ArchiMaster 3D and export a shop-ready board list in one session.
Get the free trialReady to design with confidence?
See which edition fits the space you’re designing.