
 FIG·01
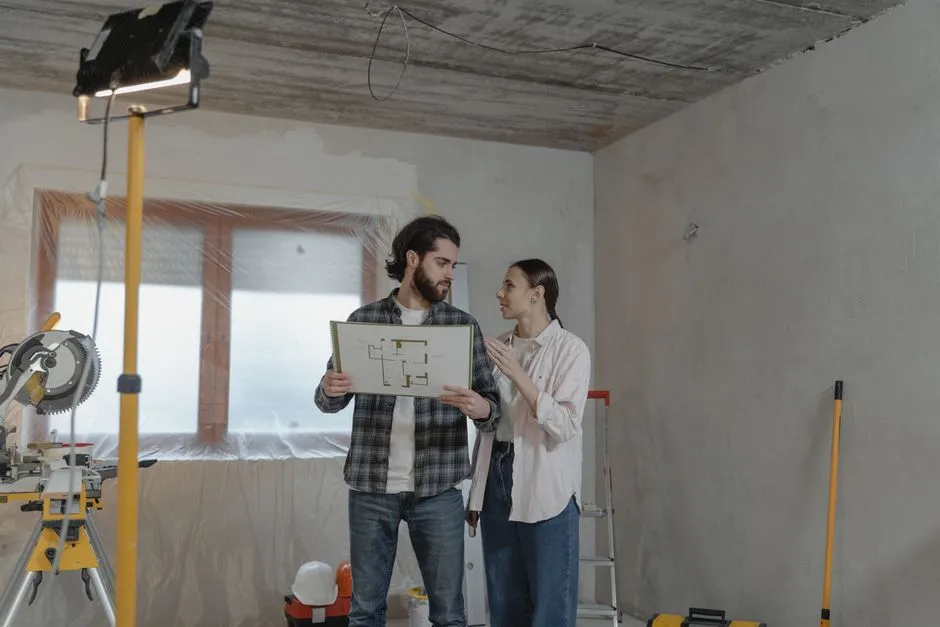
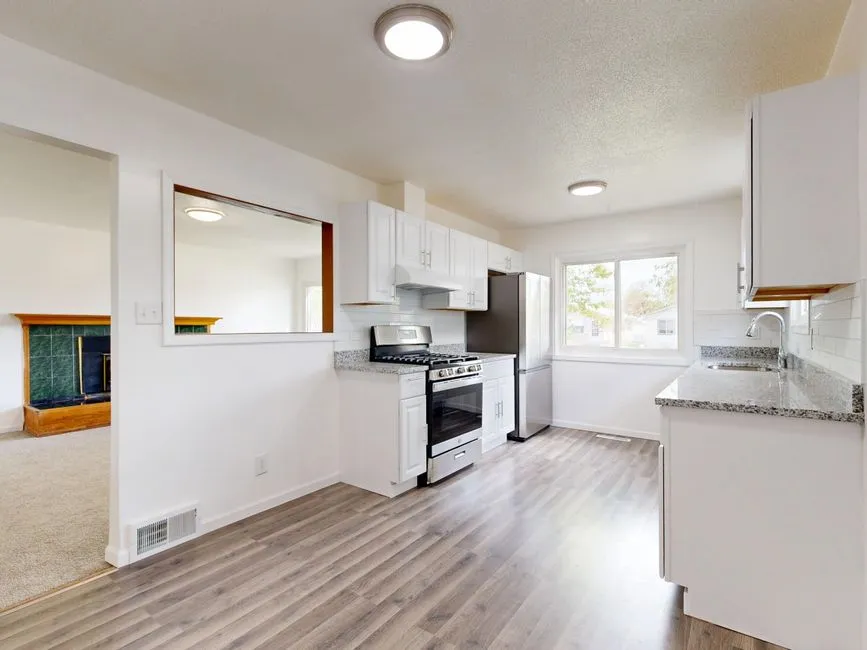
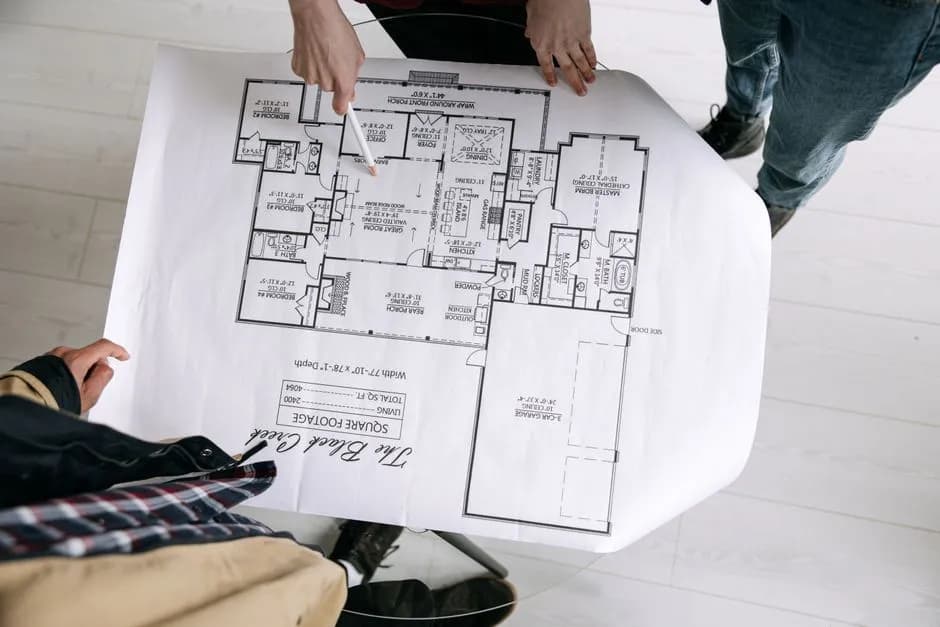
Most homeowners and remodelers already have a floor plan: a builder's PDF, a real estate JPEG, or a CAD file from a designer. You do not need to redraw it from memory. To import an existing floor plan into ArchiMaster 3D, open a new project, use File > Import to bring in a PDF, PNG, JPEG, or DWG/DXF underlay, set the scale from one long known wall run, lock that import layer, and trace walls, doors, and windows on top. The imported file stays as a visual reference; ArchiMaster 3D objects you trace become the true 3D model. This approach is faster and more accurate than estimating measurements, which is why it is the recommended starting workflow in ArchiMaster 3D home design software.
- Use the longest known dimension on the plan to set scale. A 40-foot wall gives a far smaller relative error than a 3-foot door.
- PDF and image imports work in every ArchiMaster 3D edition as a tracing underlay; DWG/DXF linework is available in the CAD-enabled editions.
- Keep imported linework on a locked reference layer. Tracing on a separate layer prevents hidden CAD lines from joining your final walls.
- DWG endpoints snap exactly; PDF is rasterized, so trace points manually and zoom to 200 percent for precise clicks.
- If a DWG fails to open, export it to an older DXF format, such as AutoCAD 2013 or 2010, and re-import.
“Scale from a long wall, not a door. A small error on a 40-foot dimension compounds far less than the same error on a 3-foot opening.”, ArchiMaster 3D Journal
Start with the Right Source File
The import method depends on the file you have. A PDF or scanned image works in every ArchiMaster 3D edition and is enough for most kitchen, bath, and single-room renovations. A DWG or DXF file is the stronger option when a designer or architect shared original CAD linework, because it preserves exact coordinates and lets you snap to endpoints. Before importing, open the file in a viewer and confirm the plan is scaled, rotated so north is up, and cropped to the project area. Multi-page PDFs often include cover sheets and detail pages; import only the page with the dimensioned floor plan. For DWG files, note the drawing unit shown in the title block, usually inches, feet, millimeters, or meters. That unit choice matters when you set scale and wall thickness. Compare editions on the ArchiMaster 3D suite page to confirm which import option your version includes.

- The dimensioned floor plan PDF or image, saved at 150 to 300 DPI
- DWG or DXF exported as AutoCAD 2018 or earlier if the import rejects the file
- One long measured wall run in real units, such as 24 feet 6 inches or 7,470 mm
- A new ArchiMaster 3D project with the correct unit system set before import
Method 1: Import a PDF Floor Plan and Set Its Scale
PDF floor plans import as a rasterized background image, which means you trace over a picture rather than snapping to CAD endpoints. ArchiMaster 3D handles multi-page PDFs by letting you choose the page during import. For cleaner edges and legible dimensions, export or print the PDF page as a PNG or JPEG at 300 DPI before importing. If the PDF is already a high-resolution vector export, importing the PDF directly also works. Place the underlay at the origin and keep its aspect ratio locked, which the importer does by default. Then move to the Set Scale tool.
PDF import steps
- Open a new ArchiMaster 3D project.
- Choose File > Import > Floor Plan (PDF/Image) and select the file or page.
- Place the underlay at 0,0 with locked proportions.
- Reduce the underlay opacity to about 50 percent in the layers panel.
- Use the Set Scale tool, click one end of a known wall, click the other end, type the true length, and press Enter.
- Lock the import layer before you trace.
Set the scale from the longest wall run you can verify, typically an exterior wall or the full width of the house. If you use a short closet or door dimension, a one-pixel scale read error gets multiplied across the entire plan. A 3-foot door measured 0.1 inch off creates about a 3 percent error; the same 0.1 inch on a 40-foot wall is a 0.25 percent error. When the plan shows masonry or overall dimensions, use one of those. After scaling, verify by drawing a temporary dimension over a second known length before any walls are traced. A quick check on two different walls catches rotated imports and non-uniform scans.
Method 2: Import a DWG or DXF Floor Plan
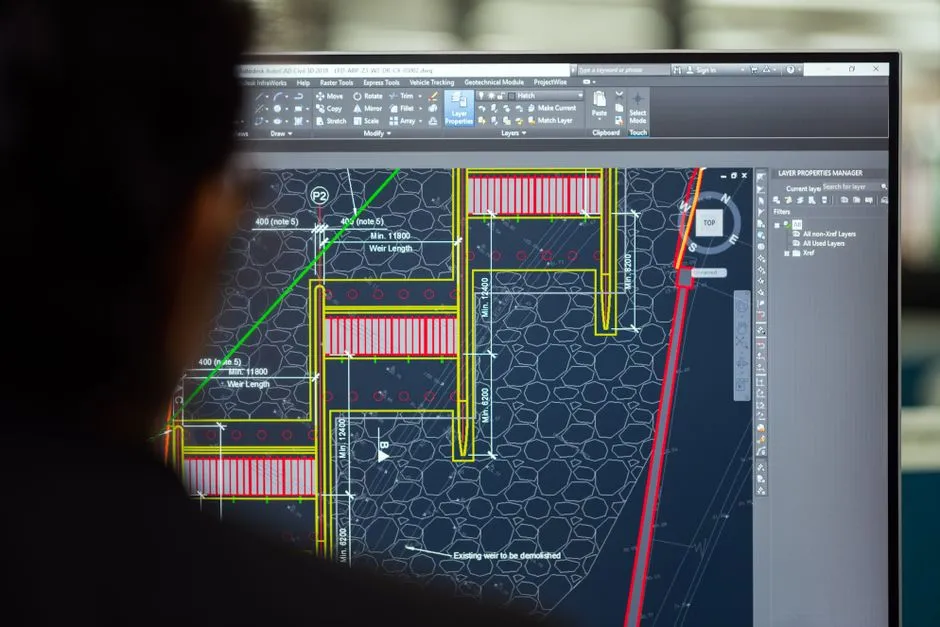
DWG and DXF import keeps CAD linework precise, so this is the preferred route when you have a designer's file. ArchiMaster 3D Expert and Ultimate Home Design include CAD file import; if you are using a different edition, check the pricing page to see which edition fits the workflow. Open File > Import > CAD File, select the DWG or DXF, and choose the drawing unit that matches the title block. Set the insertion point to 0,0 and keep imported layers separate from your trace layer. Many CAD files include dimensions, hatches, furniture blocks, and title text. Turn those layers off after import, leaving only walls, openings, and property lines visible. That keeps the screen clean and makes snapping to wall endpoints reliable.
DWG import steps
- Export the CAD file as DXF R2018 or older if your DWG version is too new.
- Open File > Import > CAD File in ArchiMaster 3D.
- Choose the drawing unit: inches, feet, millimeters, or meters.
- Set the import scale to 1:1 and the insertion point to 0,0.
- Open the layer manager and turn off dimension, hatch, and furniture layers.
- Lock the imported CAD layer, then trace on a new ArchiMaster layer.
One thing that surprises first-time importers: imported CAD lines are reference geometry, not editable ArchiMaster walls. You trace over them with ArchiMaster wall, door, and window tools, which creates clean connections, correct thickness, and room definitions that the 3D engine can extrude. This is not a limitation. It is the fastest way to convert an architect's 2D linework into a buildable 3D model without losing wall thickness control. The SketchUp comparison in ArchiMaster 3D vs SketchUp 2026 walks through how that home-specific tracing advantage works in practice.
Tracing the Underlay into a 3D Model
After the underlay is scaled and locked, tracing becomes a matter of following a reliable order. Start with the exterior perimeter, moving clockwise or counterclockwise, and close the loop before adding interior partitions. This prevents orphan wall segments and makes room detection faster. Set the default wall thickness before tracing: 4 1/2 inches for interior drywall partitions, 6 inches for load-bearing or wet walls, and 9 to 12 inches for exterior assemblies depending on your region. Trace interior walls next, snapping to the exterior wall faces or centerlines as your plan indicates. Add doors and windows last, then adjust ceiling heights per floor.
- Set the default interior and exterior wall thickness before drawing.
- Trace and close the exterior perimeter first.
- Trace interior partitions from longest to shortest.
- Add doors and windows on top of traced wall segments.
- Use the dimension tool to confirm three reference lengths against the scaled plan.
When the plan includes multiple floors, import each level as a separate underlay in the same project and trace it at the correct elevation. ArchiMaster 3D keeps each floor independent, so you can reuse wall cleanup and room definitions floor by floor. If the roof comes next, the tracing order in the roof design guide builds directly on the completed walls. For an angled wall or bay window, zoom to 150 to 200 percent and use angle snaps or the precise input field rather than freehand dragging.
Fixing Import Scale and Alignment Problems
Most import problems come down to scale, units, or rotation. If the imported DWG is 25.4 times too large, the file was drawn in millimeters but imported as inches. Re-import and set the drawing unit to millimeters, or set an import scale factor of 0.03937. If a PDF traces correctly on width but is short on length, the original scan was not proportionally scaled; unlock the underlay and use the scale tool independently on the long axis only if ArchiMaster 3D allows non-uniform correction. If the whole plan appears as a tiny dot or a blank screen, it is usually an insertion point issue: CAD files often place geometry far from the 0,0 origin. Re-import, select Fit to Content, then move the underlay back to the project origin.
FAQ: Importing Existing Floor Plans
- Can ArchiMaster 3D import a DWG file?
- Yes. ArchiMaster 3D Expert and Ultimate Home Design import DWG and DXF linework as a reference underlay. You set the drawing unit, lock the imported layer, and trace walls and openings with ArchiMaster tools. If a DWG version is too new, export it as DXF R2018 or older.
- How do I set the scale of an imported floor plan?
- Use the Set Scale tool after placing the underlay. Click one end of a known wall, click the other end, enter the true length in the project units, and confirm. Always scale from the longest known dimension, then verify with a second wall.
- Why is my imported PDF floor plan blurry?
- PDFs import as images, and low-resolution scans stay soft. Export the PDF page at 300 DPI as PNG or JPEG before import, or import a vector PDF if available. Zoom to 200 percent while tracing and keep the underlay opacity near 50 percent.
- Does ArchiMaster 3D convert CAD lines into automatic 3D walls?
- No. Imported CAD lines are reference geometry. You trace them with ArchiMaster wall, window, and door tools, which converts the plan into a true parametric 3D model with proper thickness and room definitions.
Start with the plan you already have. Import the PDF or DWG, set one long wall as the scale reference, and trace your way to an accurate 3D model.
Download the free trialReady to design with confidence?
See which edition fits the space you’re designing.