

 FIG·01
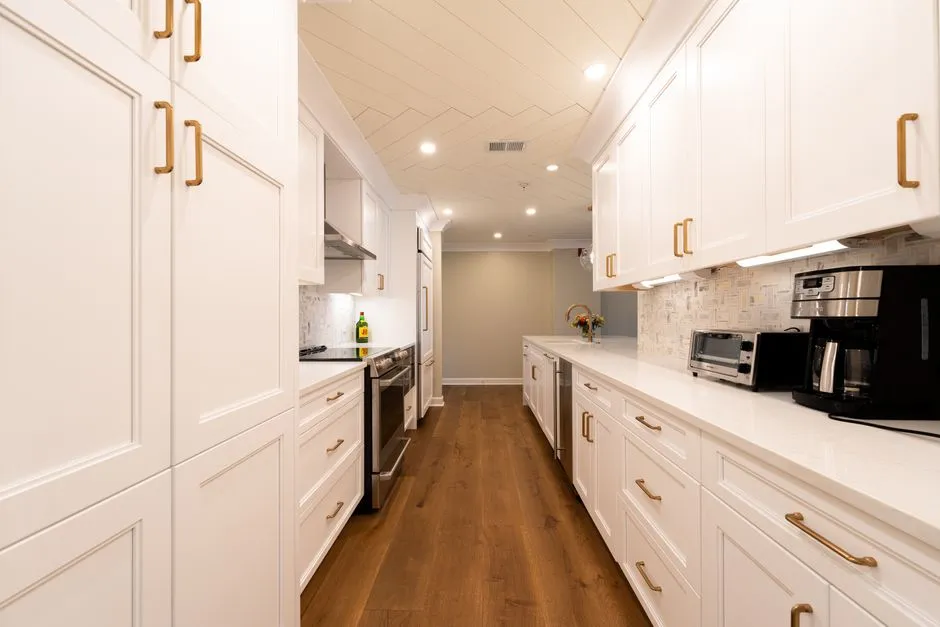
To model a galley kitchen in ArchiMaster 3D, draw the room shell to finished interior dimensions, place base cabinets at a true 24-inch depth, set countertops with a 1 to 1.5 inch front overhang, and then check the remaining aisle between counter edges with the dimension tool. A workable galley needs at least 42 inches between opposing counters for one cook and 48 inches for two cooks. The model becomes the contract drawing: if a cabinet depth or overhang is wrong in 3D, the fabricated countertop and appliance fit will be wrong in the room. This workflow avoids the most common galley mistake, which is measuring cabinet face to cabinet face and forgetting that countertops and door swings consume aisle space. In ArchiMaster 3D, the home design software libraries place every cabinet and appliance at its real-world size, so the clearance you see on screen is the clearance you will stand in.
- Set the room by finished interior dimensions, not exterior framing; two standard wall assemblies remove about 9 inches from the open width.
- Standard base cabinets are 24 inches deep, and countertops add roughly 1 to 1.5 inches of front overhang, so the dimension to check is between counter edges, not cabinet faces.
- A one-cook galley needs a 42-inch aisle between counter edges; a two-cook galley needs 48 inches.
- Model appliances as full-depth blocks with door swings, because a dishwasher door can consume 27 inches of a 42-inch aisle.
- Export the dimensioned plan as a PDF or image so the cabinetmaker and countertop fabricator work from finished-face measurements.
Draw the Room Shell from Finished Faces, Not Framing
In ArchiMaster 3D, start a new plan and draw the galley by its interior finished dimensions. A 96-inch-wide room is not a 96-inch kitchen: two 2x4 stud walls with drywall remove about 9 inches, leaving a finished 87-inch interior. Set the wall assembly first, using 4.5 inches for 2x4 framing with half-inch drywall or 6.5 inches for 2x6 framing, because cabinet backs sit against drywall, not studs. Place a temporary dimension from finished wall to finished wall and lock that distance before any cabinet enters the model.
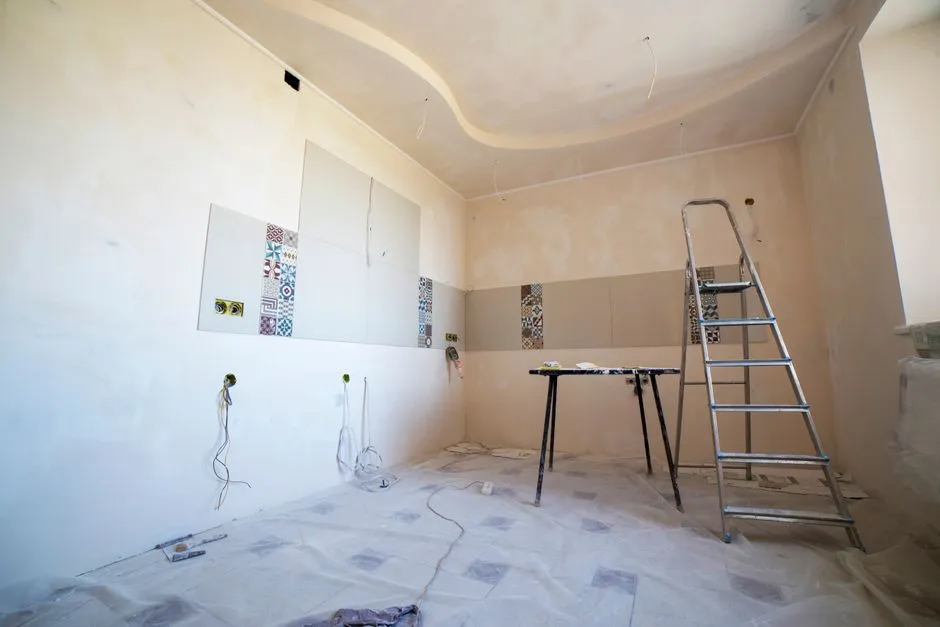
Wall thickness changes the clearance math more than most remodelers expect. A 60-inch-wide exterior room with two 4.5-inch wall assemblies leaves only 51 inches of clear interior space. Set 24-inch base cabinets on both sides, and the gap between cabinet faces is just 3 inches. Countertop overhang will reduce that further, which is why the countertop slab is modeled separately. Draw the shell once and avoid changing wall thickness after cabinets are placed; moving a wall can silently detach cabinet backs and erase the precise clearance you just checked.
Place Base Cabinets at a Real 24-Inch Depth
Open the cabinetry library in ArchiMaster 3D and place a base cabinet along one long wall. The ArchiMaster 3D suite includes true-to-scale cabinet, countertop, and appliance libraries, so a catalog cabinet drops into the plan at its real depth and height. Set the base cabinet depth to 24 inches, the North American standard, and set its width and height to match the run: 30, 33, or 36 inch widths are common, with a 34.5 inch cabinet height plus countertop. Align the back of the cabinet to the drywall face. Do not leave a hidden half-inch void behind the cabinet; the void creates a false dimension and does not add useful clearance.
If the galley has a corner, model a blind corner cabinet or a lazy Susan unit at its true 36 by 36 inch footprint. A compact galley often fails because the corner cabinet was drawn as a simple rectangle, which understates the space the door and rotating shelf need. Place sink and range cabinets after the corner is set so the countertop seam and plumbing rough-in land in real positions, not where the drawing was convenient.
Model the Countertop Overhang as a Separate Slab
In ArchiMaster 3D, model countertops as a slab on top of the cabinet run rather than resizing the cabinet box. Standard countertop depth is 25 to 25.5 inches on a 24-inch base cabinet, giving a 1 to 1.5 inch front overhang. The back edge sits flush to the wall or leaves a one-eighth-inch scribe gap for fabrication tolerance. Select the slab and set its depth to the true countertop depth, then confirm the front edge extends past the cabinet face. For a galley, this overhang is not decorative: a 1.5-inch overhang on each side of a 48-inch aisle reduces usable walkway to 45 inches. Check the gap between the two countertop front edges, not the cabinet faces.
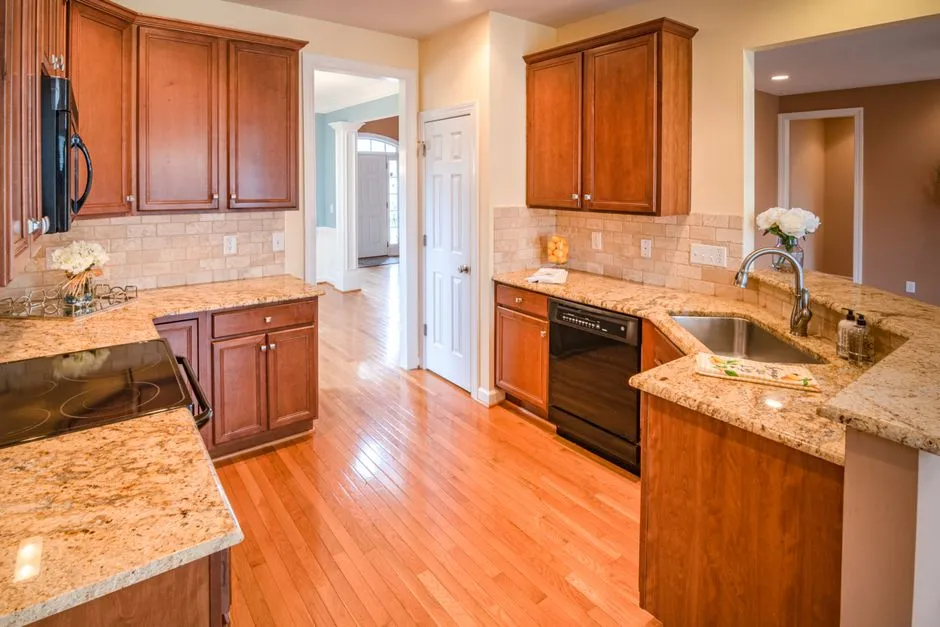
The countertop slab also lets you model an integrated backsplash and a mitered return at the galley end. If the run terminates at a wall or doorway, set the slab to stop one-eighth-inch short of the obstruction. This tolerance is what a fabricator will cut anyway, and seeing it in 3D prevents a surprise gap at the wall. Use the features overview to turn on precise dimension snapping while editing the slab, so the overhang is uniform across the full run.
Set the Aisle and Door Swing Clearances
After the cabinets and countertop slabs are in place, measure the working aisle between the two counter front edges. The National Kitchen and Bath Association guideline is 42 inches for a single cook and 48 inches for multiple cooks in a galley. Apply that dimension to the path where the cook stands and turns, not just the centerline. If the aisle is narrower, reduce cabinet depth on one side to 21 or 18 inches for a shallow pantry run. ArchiMaster 3D lets you resize cabinetry parametrically, so the reduced-depth run updates its door fronts and interior shelves while the floor plan stays accurate.
Model appliances as full-depth blocks with door swings, because a dishwasher door can consume 27 inches of a 42-inch aisle. Place the dishwasher perpendicular to the aisle and open its door in the 3D view to confirm a person can stand at the sink while the door is down. Do the same for the oven door, the refrigerator doors, and any tall pantry pull-outs. The non-obvious tradeoff is that a 36-inch refrigerator with a 32-inch door swing can block the main corridor even when the counter-to-counter dimension passes the 42-inch rule.
- Measure counter edge to counter edge, not cabinet face to cabinet face.
- Confirm 42 inches for one cook, 48 inches for two cooks in the work zone.
- Open every appliance door in the 3D model and check standing room.
- Keep the primary work aisle free of open door swings and pull-out hardware.
- Add 3 inches to a corner cabinet footprint for door clearance.
Export a Dimensioned Plan for the Cabinetmaker and Countertop Fabricator
Before ordering cabinets or stone, export the dimensioned plan. In ArchiMaster 3D, use the dimension tool to place finished-face measurements on the plan: wall-to-wall width, cabinet run length, countertop depth including overhang, and the clear aisle dimension. Export as a PDF or image and send the same file to the cabinetmaker and countertop fabricator. A 24-inch base cabinet with a 25.5-inch countertop slab looks correct only if both trades read the same finished-face dimensions. If the plan shows face-to-face cabinet dimensions instead, the fabricator will cut a countertop too shallow for the overhang you modeled.
The exported plan also becomes the punch list for installation day. Mark the location of plumbing rough-ins, the dishwasher electrical outlet, and any wall sconce boxes that conflict with tall cabinets. Check the elevation view for crown molding clearance and under-cabinet task lighting placement. A galley is a narrow room, so an error of one inch in cabinet depth shifts the entire work aisle. The free trial gives you a working plan to test this workflow before committing to a remodel.
“In a galley, the dimension you can stand in is the only dimension that matters.”, ArchiMaster 3D Studio Notes
- What is the minimum clearance for a galley kitchen in 3D?
- Model at least 42 inches between counter edges for one cook and 48 inches for multiple cooks. Include cabinet depth, countertop overhang, and open appliance door swings in the measurement.
- How deep are standard galley kitchen base cabinets?
- Standard base cabinets are 24 inches deep. Countertops run 25 to 25.5 inches deep, which includes a 1 to 1.5 inch front overhang. A shallow pantry run can use 18 or 21 inch deep cabinets.
- Should countertop overhang be included in galley aisle clearance?
- Yes. A 1.5-inch overhang on each side reduces a 48-inch aisle to 45 inches. Always measure between the two countertop front edges, not the cabinet faces.
- Can ArchiMaster 3D export a floor plan for contractors?
- Yes. Place finished-face dimensions on the plan and export it as a PDF or image. The same file can go to the cabinetmaker, countertop fabricator, and electrician.
- How do I model an appliance door swing in a galley kitchen?
- Place the appliance as a full-depth block and open its door in the 3D view. Confirm a person can stand at the sink or walk past while the door is open, then adjust the aisle or cabinet depth if needed.
Start your galley kitchen model with the free ArchiMaster 3D trial.
Download free trialReady to design with confidence?
See which edition fits the space you’re designing.