
 FIG·01
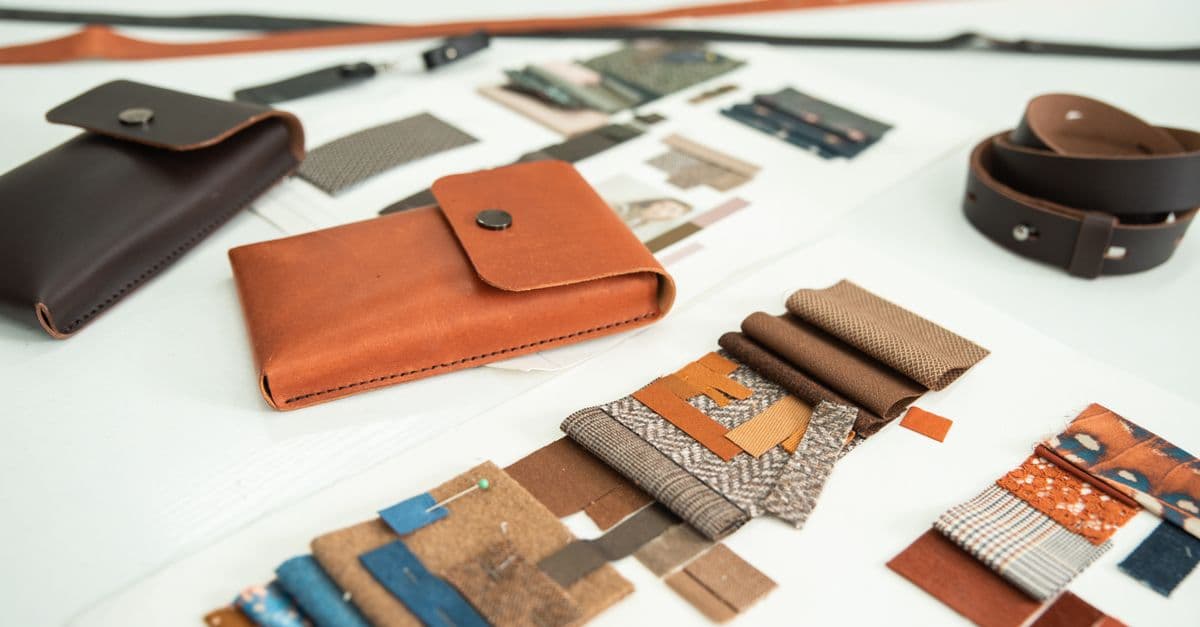
A moodboard is a pile of things you liked. A floor plan is a set of decisions you can build. Most renovations stall in the gap between the two, because a saved image tells you a room felt warm and open, and tells you nothing about where the wall goes.
This is the process for closing that gap: pulling measurable decisions out of images that were never meant to carry them, and getting to a layout you can actually price.
Separate what you like from what you can build
Go through the board and label every image with the one thing you actually want from it. Not "I like this kitchen", but "I want the window above the sink" or "I want the island to seat three". Most people find their fifty saved images collapse into six or seven real wants, and half of those contradict each other.

The contradictions matter more than the wants. A board full of floor-to-ceiling glass and a board full of deep built-in storage are describing two different houses. Finding that out now costs you an afternoon. Finding it out after drawings costs you a redesign.
Pull the measurable details out of every image
Photographs hide dimensions, but they leak them constantly if you know what to read. Standard objects in the frame give you a ruler.
- Kitchen counters sit at roughly 36 inches. Count how far up the backsplash the tile runs against that.
- A standard interior door is 80 inches tall. Use it to estimate ceiling height in any photo that shows one.
- Dining chairs are about 18 inches seat-to-floor. They tell you table height and walkway clearance behind them.
- Floorboard and tile runs give you room width: count the boards, multiply by the plank width.
- Look at what is NOT in the photo. A kitchen with no visible bin, no kettle, and no dish rack is a staged image, and the storage you need was never designed into it.
Write the numbers directly onto the images. By the end you will have a rough dimensional brief rather than a mood, and that is the thing a floor plan can be built from.
Fill the gaps in your reference set
Every board has holes. You will know exactly what you want the entry to feel like and have nothing saved that shows it, usually because the specific combination in your head does not exist in anyone's portfolio photo. Hunting for a reference that does not exist can burn an entire evening.

Generating the missing reference is usually faster than finding it. LArtist AI, which we also build, is what we use for this: describe the combination you cannot find, get a concept image, and drop it into the board so the idea is visible to everyone rather than living in your head. Treat what comes back as a sketch of intent, not a build spec. It will happily render a staircase that cannot be constructed, so the dimensional pass above still has to happen afterwards.
Translate the board into a rough plan
Start with the walls you cannot move: exterior envelope, structural columns, the soil stack, the meter. Draw those first and treat them as fixed. Everything on your board now has to fit inside that boundary, and this is where a third of the board usually falls away.
Then place the fixed-clearance items, because they fail hardest when they are wrong. Doors need swing space. Appliances need door clearance in front of them. Corridors need 36 inches. Put those in before the furniture you actually care about, because a layout that looks beautiful and blocks the fridge door is not a layout.
Only then place the things from the board. In ArchiMaster 3D you can drop the fixed elements in 2D, switch to 3D, and walk the result before you have committed to anything, which is where the clearance mistakes become obvious.
Test the layout before you commit
Walk the plan as a sequence of ordinary mornings. Come in the front door with shopping in both hands. Where does it go down? Open the oven with someone standing at the sink. Do you collide? Put a laundry basket somewhere it will not live for the next ten years.
Plans fail at these joints, not at the parts you spent your time on. The board told you what the room should feel like. The walkthrough tells you whether it works, and that is the check nobody skips twice.
- How many images should a moodboard have before I start planning?
- Fewer than you think. Once you have labelled each image with the one thing you want from it, most boards reduce to six or seven distinct wants. If you have fifty images and nine wants, you are collecting rather than deciding.
- Can I get accurate dimensions from a photograph?
- Not accurate, but close enough to plan with. Standard objects in the frame give you a reliable ruler: counters at 36 inches, doors at 80 inches, dining chair seats at 18 inches. Use them for proportion, then measure the real room before anything gets ordered.
- Should I plan in 2D or 3D first?
- 2D for the fixed constraints, walls, services, and clearances, because that is where accuracy matters. Switch to 3D to test it, because clearance and sightline mistakes are close to invisible in plan view and obvious the moment you walk through them.
Bring your board into a real plan and walk it in 3D before you commit a single decision.
See Ultimate Home Design- Who
- Written by Ahmed El Alaoui, editorial direction & marketing analytics at Richdale AI, the company behind ArchiMaster 3D.
- How
- Drafted with AI assistance from the ArchiMaster 3D Ultimate Home Design feature set and checked claim by claim against the product fact sheet on Aug 4, 2026. Photographs are stock illustrations, not renders from the software.
- Why
- Help homeowners see a room or a whole house before they spend money building it.
Ready to design with confidence?
See which edition fits the space you’re designing.