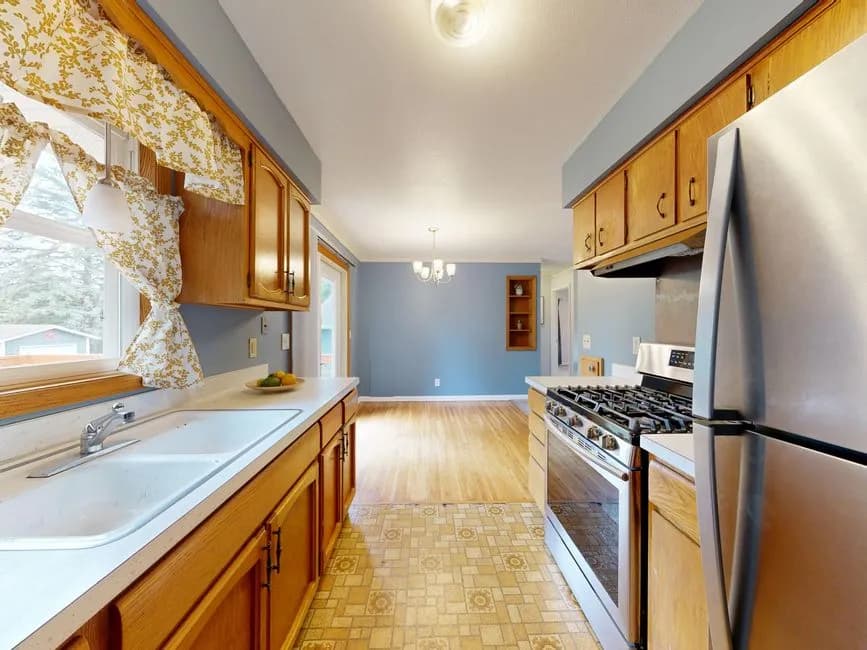

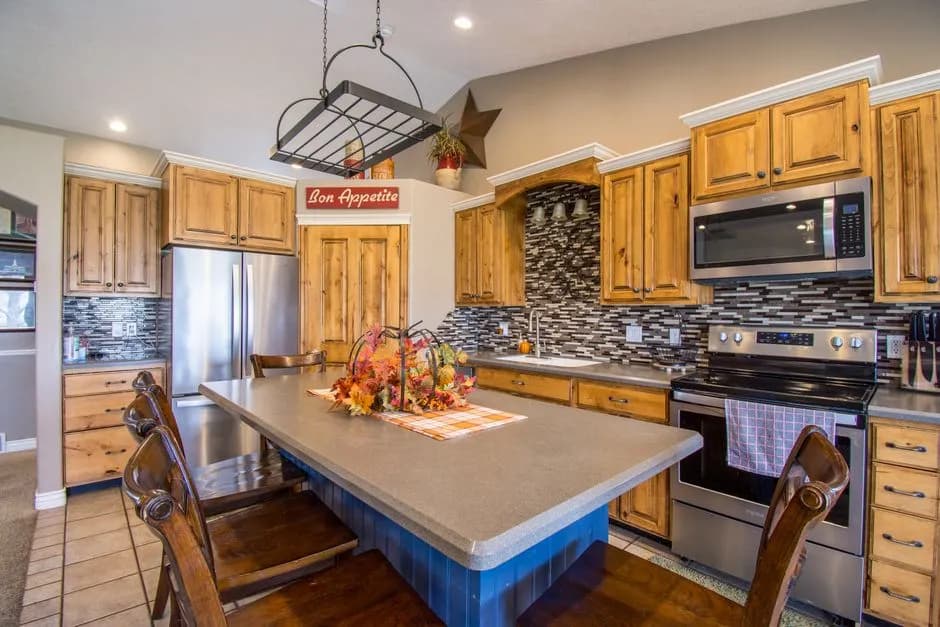
 FIG·01
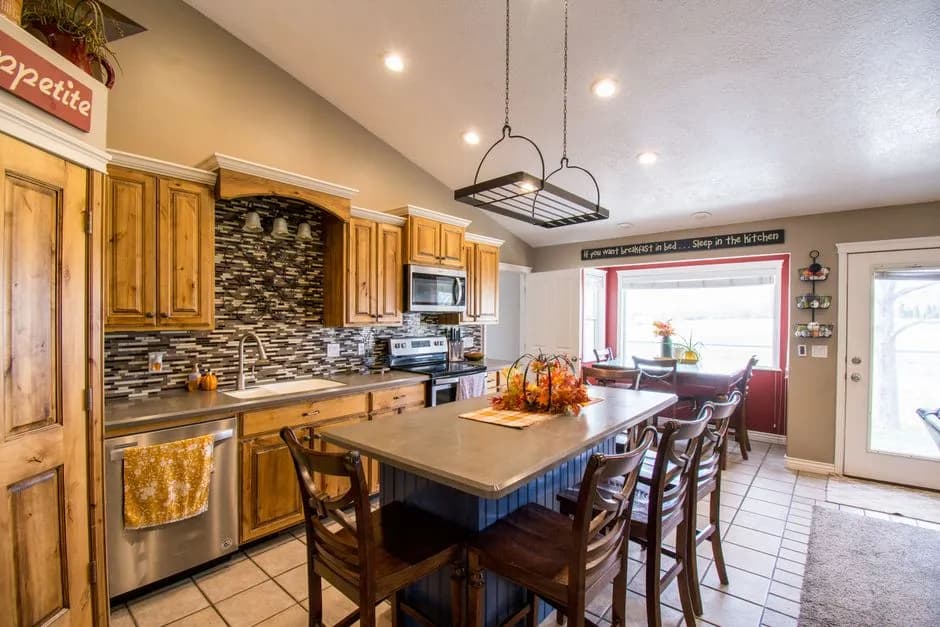
To preview a fall 2026 kitchen backsplash change in ArchiMaster 3D without rebuilding cabinets, open your existing kitchen model, select only the vertical wall surface between the countertop and upper cabinets, and apply a new tile or finish from the material library. The render updates without moving or redrawing any cabinet, counter, or appliance. That finish-isolated workflow is the fastest way to audition a low-commitment fall refresh, and it is exactly what 3D home design software is built to do: keep the room's geometry fixed while you test surface materials in real time.
- You can swap a backsplash in ArchiMaster 3D without deleting or rebuilding cabinets; the finish applies only to the selected wall surface between the counter and uppers.
- Save a camera bookmark before the first swap and render every option from that same view, so light, angle, and composition stay identical.
- A 10-foot run with a standard 18-inch backsplash covers 15 square feet, which keeps even premium handmade-look tile affordable.
- Duplicate the project file before any change, then keep each backsplash option as its own saved version for side-by-side comparison.
- Test at least three directions in one sitting: a warm neutral, a colored tile, and a textured or handmade-look tile.
Why a backsplash is the highest-visibility, lowest-risk fall refresh
A backsplash occupies the 18-inch band between the countertop and upper cabinets, which is the most continuously viewed surface in the kitchen outside of the counters themselves. Because that band is small, the material quantity stays modest, but its visual weight is outsized. A 10-foot run at an 18-inch height is only 15 square feet of tile. That is the core non-obvious insight: a backsplash lets you use a $12 to $18 per square foot handmade-look tile for roughly $180 to $270 in material, where the same tile as flooring would cost thousands.
“The backsplash is the one place in a kitchen where bold is cheap and boring is still expensive.”, ArchiMaster 3D Journal
If you already built your existing kitchen in 3D, this test is even faster. You are not starting a new layout or questioning the cabinet footprint; you are changing one finish on a model that already matches your room. Fall 2026 backsplash choices lean warm and textural, but a render is the honest preview because showroom lighting hides the undertones that under-cabinet LEDs will reveal. Before you buy a single box, render the options in the exact light of your kitchen.
Set up a material-only test without touching cabinet geometry
Open your completed ArchiMaster 3D kitchen project and resist the instinct to redraw anything. The goal is finish isolation, not remodeling. Before you select a single tile, duplicate the project file so you can return to the original backsplash at any time. If you need a clean starting model, download a free trial and build the existing room from measurements; the finish swap itself takes only a few minutes once the kitchen is modeled.
Lock one camera and one lighting profile first
Use a saved camera view from your main work angle, usually the sightline from the sink or the kitchen entry. A material swap can look completely different from a low orbit near the range, so render every option from the same view. ArchiMaster 3D keeps the existing time-of-day and light fixture settings in the model, which matters because a cream tile can turn gray under cool LED light and peach under warm halogen. Lock the lighting before you test, then do not adjust it between renders.
Confirm the backsplash is a separate vertical surface
In most kitchen models, the backsplash is the visible wall segment that fills the space between the countertop backsplash lip and the bottom of the upper cabinets. Select that surface, not the cabinet boxes. If the wall runs behind the range hood or open shelving, zoom in and select only the exposed band. This precision is what lets you change the finish without rebuilding cabinets or disturbing adjacent walls. The same selection approach works in the Kitchen & Bath edition as in the full home design edition, because the engine and true-to-scale material libraries are shared across the product suite.
Step-by-step: swap the backsplash finish in ArchiMaster 3D
The actual swap is a selection task, not a construction task. Start with a duplicate of your project, then use the material or finish tool to pick the backsplash surface. ArchiMaster 3D uses the same 3D engine and true-to-scale libraries across editions, so the workflow is consistent whether you are working in the full home design edition or the Kitchen & Bath edition. The features built for finish isolation make this a fast, repeatable test.
- Duplicate the project and open the copy.
- Select the backsplash wall surface between the counter lip and the upper cabinet bottoms.
- Open the material library and filter by tile, stone, or paint finish.
- Apply the first finish and render from the locked camera view.
- Save the version with a descriptive name, then undo or reapply to test the next option.
Four fall 2026 backsplash directions to render first
Start with a short list so you compare with intent, not by opening every tile in the library.
- Warm greige subway tile with a matte finish, which reads neutral under both LED and halogen.
- Sage or olive green zellige-style tile, which adds color without competing with wood or white cabinets.
- Taupe or sand limestone-look porcelain, which warms a cool white kitchen without a full remodel.
- Terracotta or rust handmade-look tile, which brings fall warmth and hides splatter better than flat white.
What to compare in each render before you buy tile
Compare the same three things in every render: undertone against the countertop, grout line visibility at eye level, and the way the finish catches light at the range and sink. A backsplash that looks neutral in a showroom can pull pink or green against a specific countertop. The render makes that conflict visible before the tile is on the wall. Also check the top edge: a 3D model shows whether the tile stops cleanly at the upper cabinet line or needs a finished trim piece.
- Can I change only the backsplash in ArchiMaster 3D without affecting cabinets?
- Yes. Select the vertical wall surface between the countertop and the upper cabinets, then apply a new finish from the material library. The cabinet boxes, counters, and appliances do not move or redraw.
- Does ArchiMaster 3D have fall 2026 backsplash tile materials?
- The material library includes true-to-scale tile, stone, and paint finishes with adjustable color and texture. You can create warm greige, sage, taupe, and terracotta looks and render them in your kitchen's actual lighting.
- How do I compare two backsplash options side by side in ArchiMaster 3D?
- Duplicate the project before each change, apply a different finish to each copy, and save each version with a descriptive name. Open the saved camera view in both files to see the same composition with the finishes applied.
- What is the standard backsplash height to model in a kitchen?
- The standard backsplash height is 18 inches between the countertop and the upper cabinets. A 10-foot run at that height covers 15 square feet, which is a small material commitment for a high-visibility surface.
- Can I render a backsplash in different lighting to see undertones?
- Yes. ArchiMaster 3D keeps the model's time-of-day and light fixture settings, so you can render the same backsplash under cool LED, warm halogen, and natural daylight to catch undertones before buying tile.
Model your existing kitchen once, then use the material-only workflow to test fall backsplash finishes in minutes, not weekends.
Download a free trialReady to design with confidence?
See which edition fits the space you’re designing.