
 FIG·01
A warm kitchen render in ArchiMaster 3D comes down to four settings: 2700K or 3000K fixture color, 60–80% emissive intensity on LED surfaces, a small point light core for halogen, and longer fall shadows. Most remodels miss that last part. The cabinets and stone are right, but the light stays the cool blue of a hospital corridor. This article walks through the exact settings, why LED and halogen behave differently in a render engine, and how to avoid the three overlighting mistakes that flatten a cozy remodel. You can apply these settings in any edition of the ArchiMaster 3D suite; the lighting and material engine is shared across all four editions.
- Warm LED panels render best at 2700K with emissive intensity set between 60% and 80%; higher values clip the glow into a flat white patch.
- Halogen fixtures need a 3000K point light placed at the filament, plus a small emissive bulb core at 40–50% intensity.
- For fall scenes, set ambient and sun color to 3200K–4000K, reduce the default blue sky, and lengthen shadows with a low 20–30 degree sun angle.
- Add a 15–20% fill light inside the room opposite the main window so pendant islands and base cabinets do not fall into black shadow.
- Render kitchen stills at 40–60 passes; emissive surfaces converge late and show banding if you stop too early.
“Warmth is not a filter. It is four settings: color temperature, emissive intensity, shadow softness, and ambient color.”
Why LED and Halogen Need Different ArchiMaster 3D Settings
LED and halogen fixtures are not interchangeable inside a render engine. A warm LED strip is a diffuse emissive surface: it produces even light but no concentrated source. A halogen pendant is a small, bright filament with a reflector, so nearly all scene light comes from a tight core. In home design software such as ArchiMaster 3D, this physical difference changes which controls matter. Model an LED strip as a bright point light and it throws unreal hard shadows. Model a halogen bulb as only an emissive material and the fixture glows without actually lighting the counter. The fix is to give each fixture the source type it actually uses, and then tune the fall color around it.
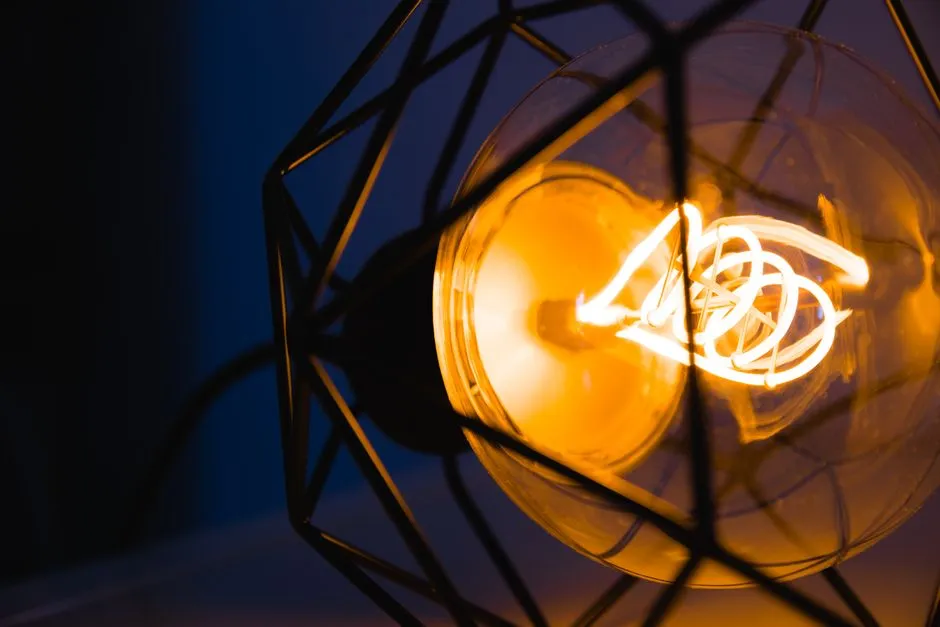
Color temperature is the first separation. Warm LED is commonly rated 2700K, while halogen sits near 3000K. Those numbers are close, but the rendering behavior differs more than the Kelvin gap suggests. A 2700K emissive surface tends to read pink-orange on white cabinets if the emissive intensity is too high. A 3000K point light reads slightly more neutral and relies on distance falloff to warm the scene. Keep this distinction in mind as you move from fixture to fixture. The goal is layered warmth, not a uniform orange wash.
Set Color Temperature and Emissive Intensity for Warm LED Panels
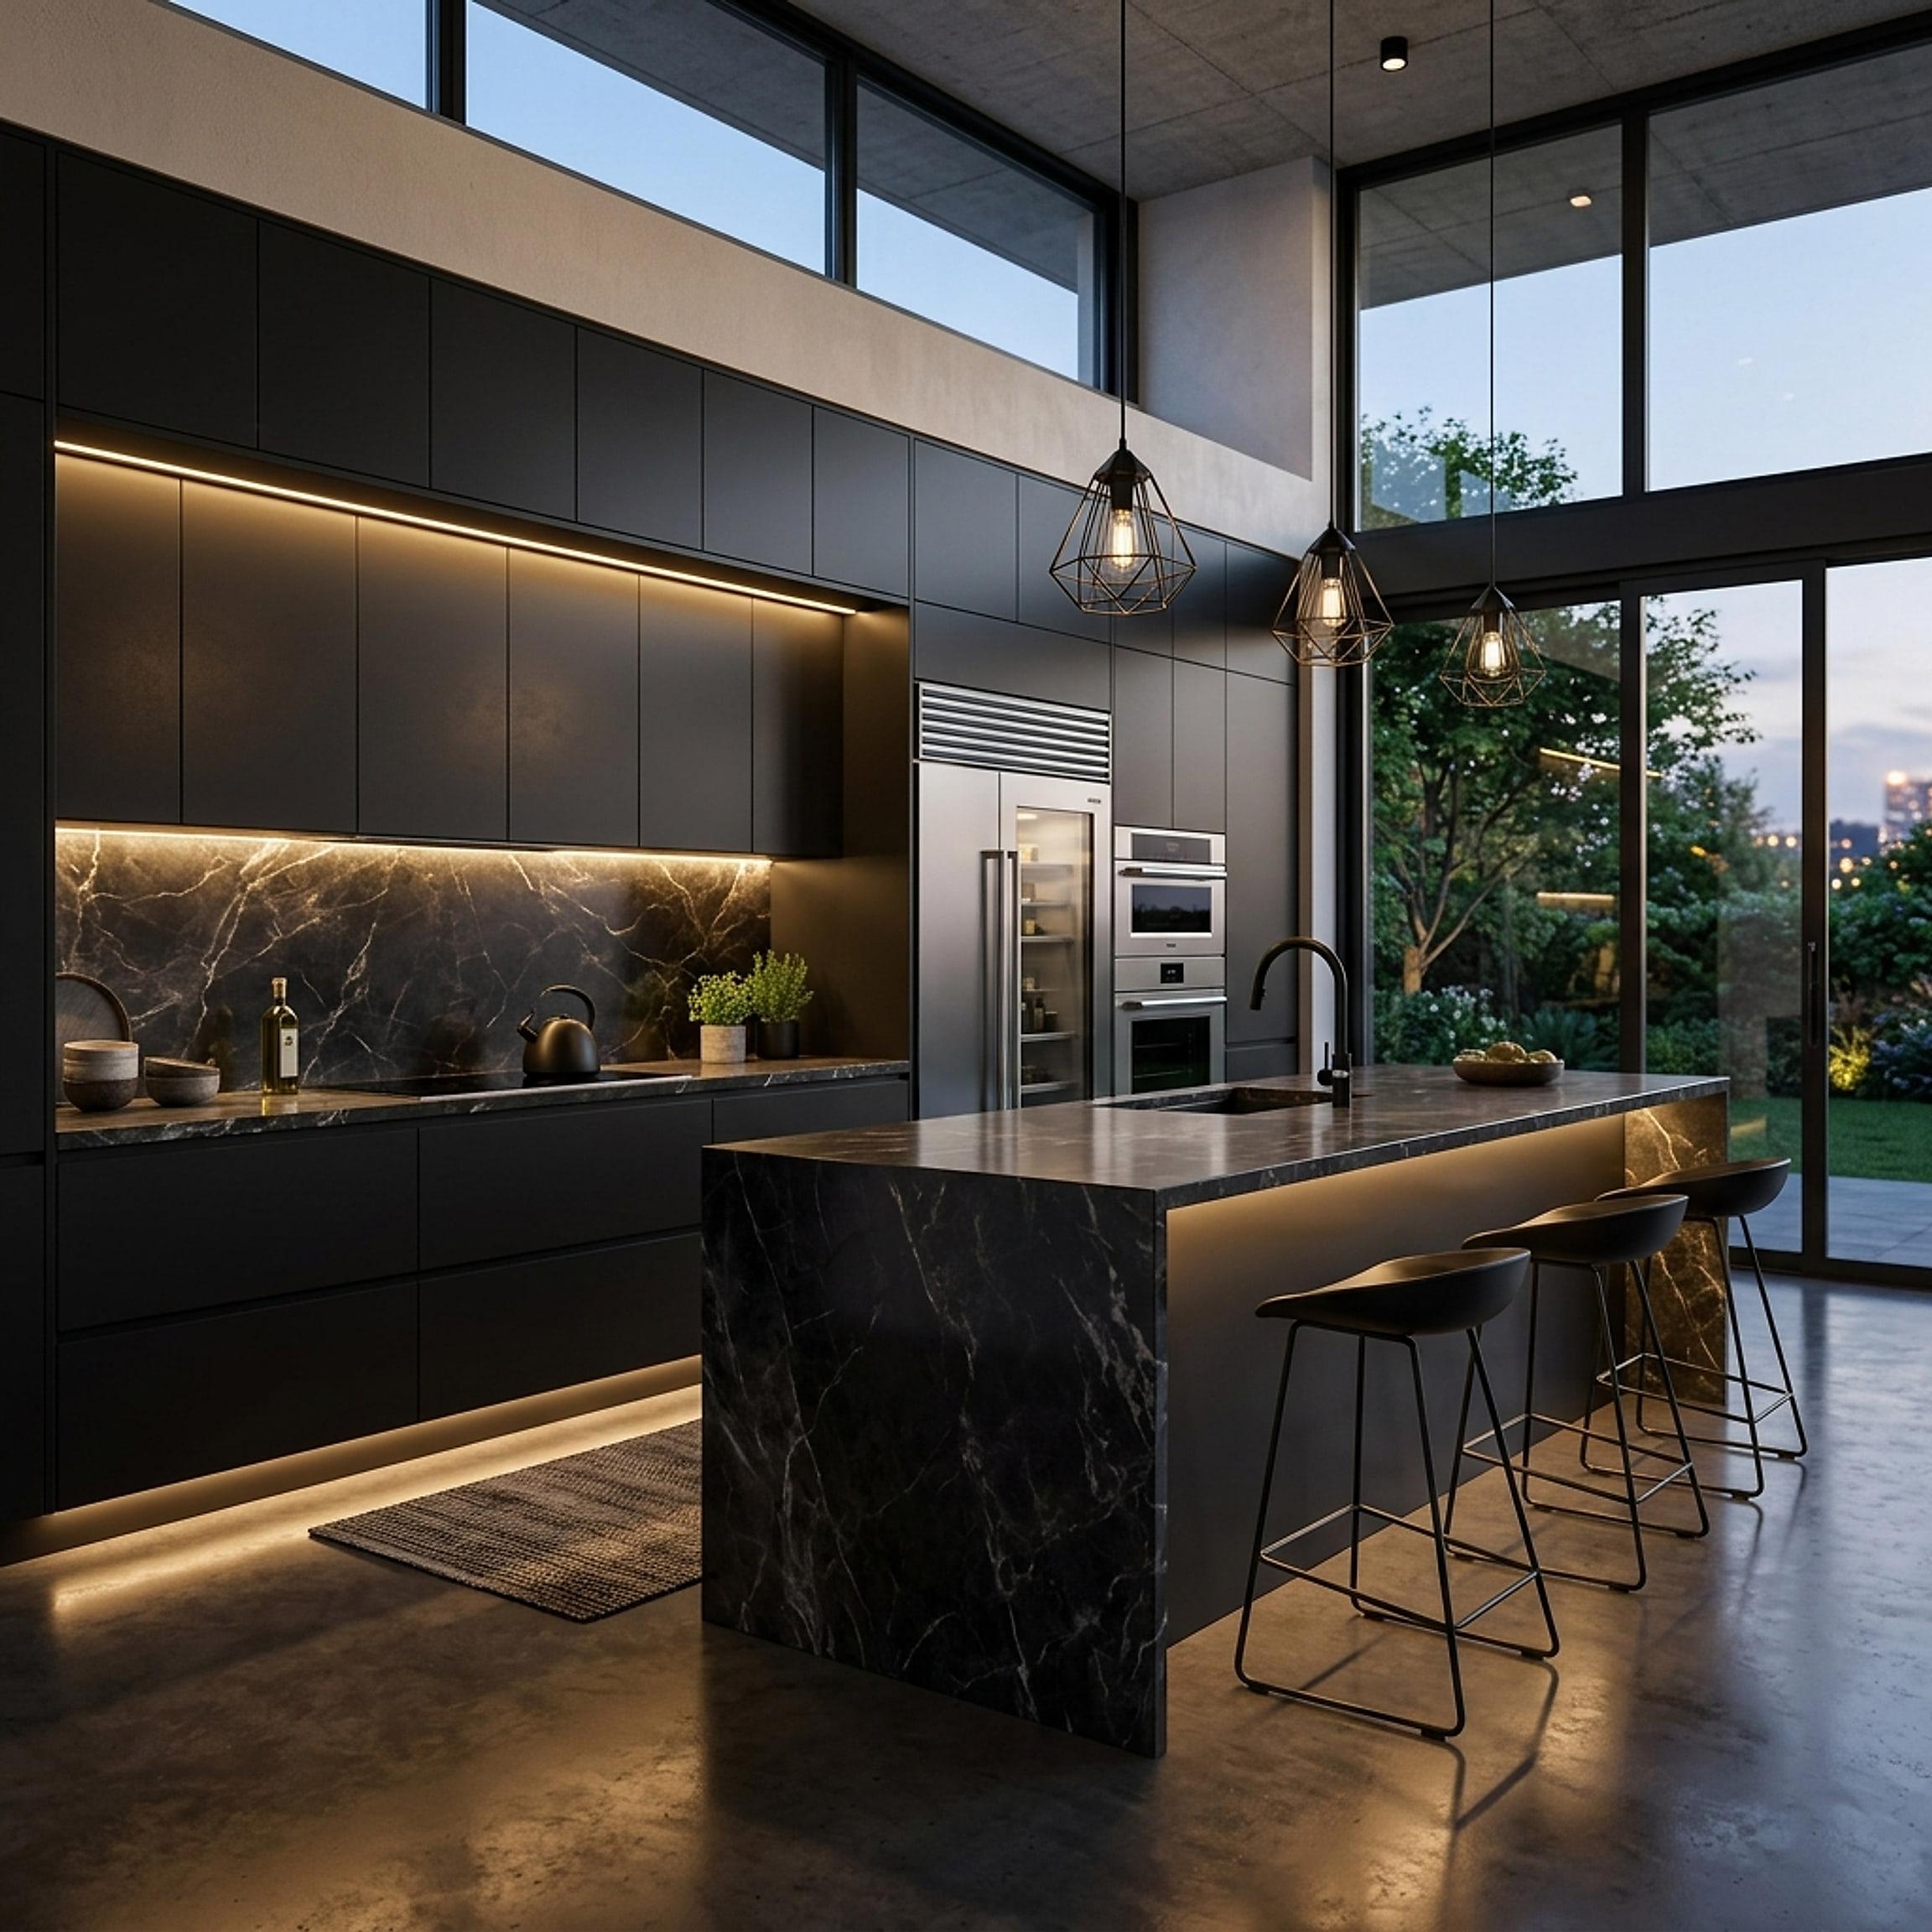
In ArchiMaster 3D, set the light output of each LED strip, panel or puck. Set the emissive color to 2700K. Reduce emissive intensity to 60–80% instead of leaving it at 100%. At full intensity the emissive surface clips to white, and the warm glow disappears exactly where the eye looks first. Under-cabinet LED strips also need a second source: a soft point light placed 12–18 inches below the fixture and set to 25–35% intensity. The emissive panel creates the visible strip. The point light throws the soft pool of light onto the counter. This pair is the most common fix when a kitchen render looks flat.
Avoid the overbright emissive mistake
Do not compensate for a dark under-cabinet area by raising emissive intensity to 100%. That increases bloom but does not add usable light to the scene. Instead, raise the separate point light to 35% and increase its radius by 10–20%. The counter brightens while the strip stays a believable warm line. For upper-cabinet accent lighting, use the same 2700K color but drop emissive intensity to 50–60%, because the visible strip is smaller and more likely to overexpose.
Tune Halogen Fixtures with a Point Light Core
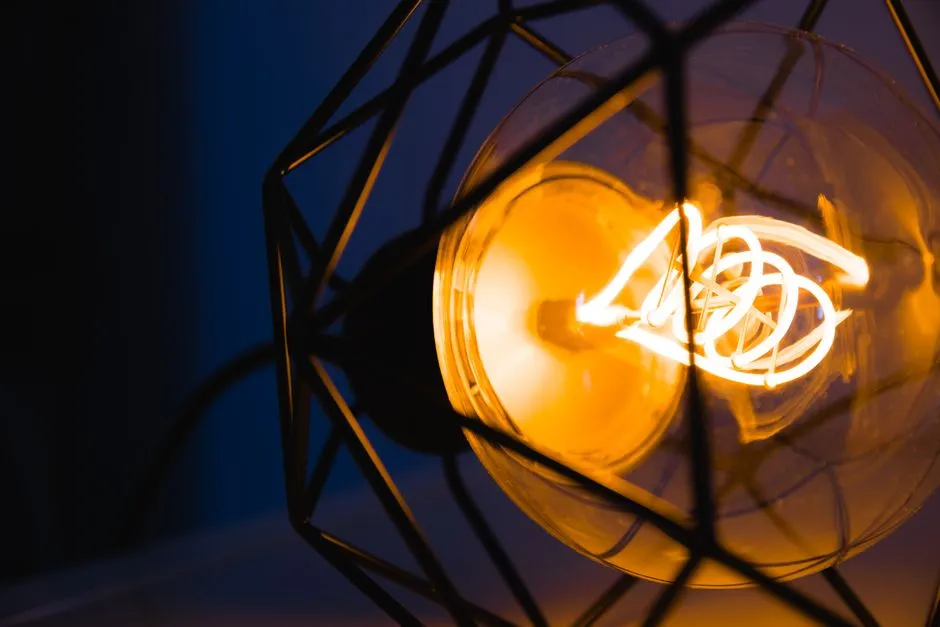
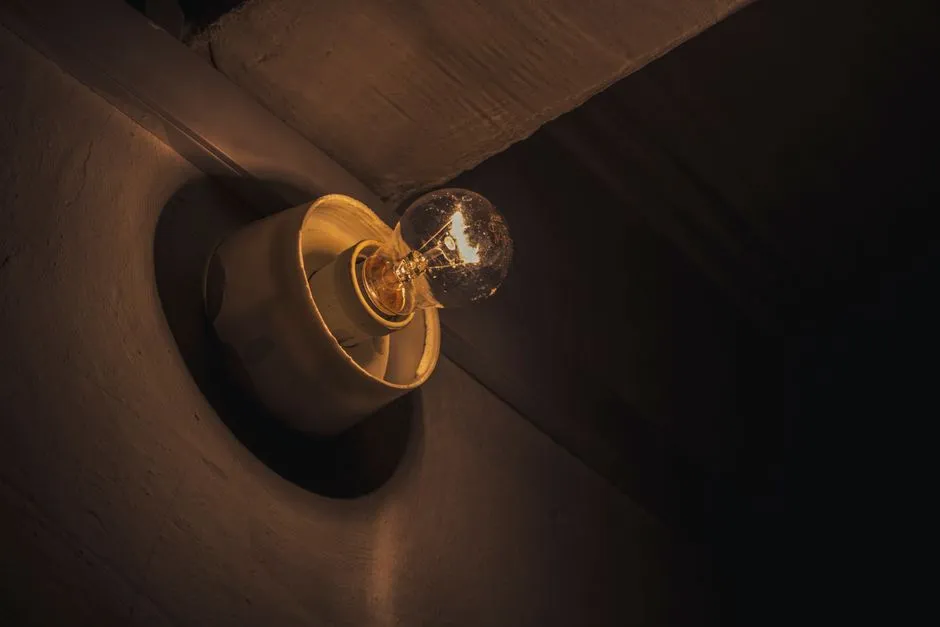
Halogen pendants over an island look best when the illuminator is a 3000K point light positioned where the filament sits inside the glass. Set the point light intensity near 100%, but reduce its source radius to 6–10 inches so shadows stay defined without becoming harsh. Then give the visible bulb material a small emissive core at 40–50% intensity with a color around 2400K–2700K. That core is only for the look of the glowing bulb. The point light does the actual work of lighting the island and stools. If the bulb material is too bright, the glass turns into a white circle and the fixture loses depth.
Fix the hard shadow problem
Halogen pendant clusters sometimes create a fence of sharp shadow lines across an island. Soften the point light source radius by 20–30% and add a 10% ambient occlusion reduction if your scene uses final gather. Keep the point light power near full. The warmth comes from the 3000K filament color, not from dimming the fixture into orange. Dimming a halogen source to 60% also shifts its apparent color cooler in many render engines, which is the opposite of the fall look you want.
Fall Shadow and Ambient Color Settings
Fall warmth also comes from the world outside the window. Set the sun color to 3200K–4000K and lower the sky saturation or use an overcast preset. A low sun angle of 20–30 degrees stretches shadows across the floor and makes the room feel like late afternoon. Reduce the default blue sky contribution because cool skylight reads as winter light even when every fixture inside is warm. Inside, add a 15–20% fill light opposite the main window, set to 3000K, so base cabinets and the island front do not drop into black shadow. This small fill prevents the heavy contrast that makes a render feel stark rather than cozy.

- Under-cabinet LED: emissive material 2700K, intensity 60–80%, plus point light 25–35% at 12–18 inches below the fixture.
- Halogen pendant: point light 3000K, source radius 6–10 inches, bulb emissive core 2400K–2700K at 40–50%.
- Sun and sky: sun color 3200K–4000K, low 20–30 degree angle, sky saturation reduced.
- Room fill: 3000K fill light at 15–20% opposite the window.
- Render sampling: 40–60 passes for stills, denoiser enabled after pass 20.
Render Passes and Why Emissive Surfaces Converge Late
For heavy kitchens with multiple emissive strips and bulb cores, scene brightness is not stable until later passes. Stop at 20 passes and the under-cabinet LEDs may show banding or a noisy halo around halogen glass. Set still renders to 40–60 passes and enable the denoiser after pass 20. Walkthroughs can use 30–40 passes per frame if the denoiser is on, but raise the fill light to 20–25% for animation because noise is more visible in motion. Test the lighting with a small 480 by 320 preview at 50 passes before rendering the full 4K image. A full-res 4K render with these settings typically completes without the green-blue noise that appears in low sample emissive scenes.
- What color temperature is best for a warm kitchen render?
- Use 2700K for LED strips and panels. Use 3000K for halogen point lights. Keep the sun and ambient sources between 3200K and 4000K so the warmth layers without turning the whole room orange.
- How do I stop LED strips from looking white in ArchiMaster 3D?
- Lower the emissive intensity to 60–80%. At 100% intensity the emissive surface clips to white. Add a separate soft point light below the strip at 25–35% intensity to light the counter without overexposing the strip.
- Why does my halogen pendant look dim in a render?
- The visible bulb material alone does not light the room. Place a 3000K point light at the filament position and set the source radius to 6–10 inches. Use a small emissive bulb core at 40–50% intensity only for the glow.
- How many passes should I render a kitchen still with emissive lights?
- Render stills at 40–60 passes. Emissive surfaces converge late, so stopping at 20 passes often produces banding and noisy halos. Enable the denoiser after pass 20 for the cleanest result.
- Can I use the same lighting settings for daytime and night fall renders?
- No. For daytime fall renders, reduce sky saturation and use a low 20–30 degree sun angle. For night renders, turn off the sun, keep the interior fill light at 15–20%, and rely on the 2700K emissive surfaces and 3000K halogen points.
Download a free trial of ArchiMaster 3D and test these lighting settings on your own kitchen remodel model.
Start free trial- Who
- Written by Ahmed El Alaoui, editorial direction & marketing analytics at Richdale AI, the company behind ArchiMaster 3D.
- How
- Drafted with AI assistance from the ArchiMaster 3D Kitchen & Bath feature set and checked claim by claim against the product fact sheet on Oct 20, 2026. Photographs are stock illustrations, not renders from the software.
- Why
- Help homeowners get a kitchen or bathroom layout right to the inch before they order cabinets or hire a contractor.
Ready to design with confidence?
See which edition fits the space you’re designing.