
 FIG·01
To model a sloped ceiling and dormer window in ArchiMaster 3D, set a gable roof plane first, then lower the knee walls and place the dormer window on the roof face. The sloped ceiling is the underside of the roof plane, not a separate ceiling object, so the roof pitch controls the ceiling slope, wall trim, and dormer placement together. This tutorial walks through the attic bedroom workflow, including plate heights, roof pitch settings, knee wall heights, dormer types, and finish sequencing. It follows the same object-based approach covered in the 3D home design software overview, but an attic model is roof-first, not room-first. Once the roof shell is accurate, flooring, wall finishes, and lighting snap into place without geometric mismatches.
- A habitable attic bedroom works best with a knee wall 4 ft 6 in to 5 ft high and at least half the floor area at a 7 ft ceiling height.
- In ArchiMaster 3D, the sloped ceiling is generated by the roof plane, so changing roof pitch changes the ceiling slope and knee wall trim in one step.
- Set the roof pitch and dormer opening reference before placing a dormer object, then lower knee walls so they trim to the roof plane automatically.
- A shed dormer creates more usable floor area than a gable dormer, but it needs a wider roof opening and a longer valley connection.
- Model finishes last. Changing roof pitch after assigning materials can misalign wall returns, ceiling seams, and dormer casings.
“The roof is not a ceiling. In an attic model, the sloped plane is both structure and interior finish, so set it correctly before you draw a single piece of furniture.”, ArchiMaster 3D Journal
Set the attic shell before touching the roof
Start with the outer walls at the true plate height. Open Wall Properties and set the front and rear walls to 96 inches above the finished floor, or 8 feet at the plate. Set the gable end walls to the same plate height. Do not try to build the slope into the wall object. ArchiMaster 3D reads the roof plane as the ceiling, so a wall below an 8 foot plate trims itself once the roof plane intersects it. This is the setting that prevents floating walls, gaped door casings, and daylight leaks at the eaves. Draw all four exterior walls, then wait to add interior partitions until the roof is placed, because an early partition keeps a flat top and pokes through the sloped plane.
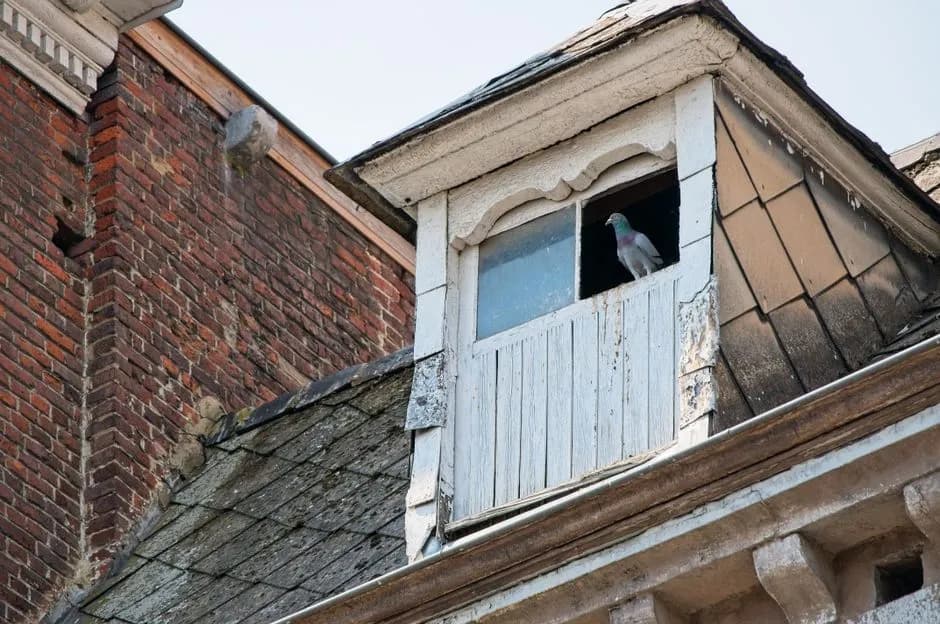
- Set the front and rear walls to a 96 in plate height unless the existing structure has a different plate height.
- Set the gable end walls to the same plate height so the roof plane closes cleanly.
- Keep roof overhangs between 12 in and 24 in so eaves do not cut daylight low on the upper wall.
- Draw the stair opening before placing the roof so dormer and stair headroom share the same coordinates.
Configure the sloped ceiling with roof pitch and ceiling thickness
In ArchiMaster 3D the sloped ceiling is not a separate object. The roof plane creates the underside that appears inside the room, and the roof pitch setting drives the ceiling angle. Set the roof pitch before you place any dormer. For a 24 foot deep gable, a 12:12 pitch raises the ridge 12 feet above the plate, because the half depth is 12 feet and the 12:12 multiplier is 1. An 8:12 pitch on the same depth raises the ridge 8 feet above the plate. This affects headroom at the knee wall and the height at which a dormer joins the main roof. Steeper pitches preserve more usable floor, but they increase exterior wall height and roofing material.
Set the ceiling thickness to match the assembly
Use the roof object settings to set the assembly thickness, typically 10 in to 12 in for an insulated attic roof. The ceiling plane drops by that thickness from the roof plane, which changes the height of interior wall trim and the top of the knee wall. If the ceiling appears to float above the wall, check the roof assembly thickness first, not the wall height. The roof object settings in ArchiMaster 3D's feature set control the exterior roof face and the interior sloped finish together, so a single thickness setting matches both surfaces. Set the finish material for the sloped ceiling on the underside of the roof plane before you place wall finishes.
Place the dormer window on the roof face
With the roof plane configured, choose the dormer object from the library and select the roof face where the dormer will sit. Set the dormer opening reference first, especially the distance from the gable end and the ridge connection point. In ArchiMaster 3D, the dormer object cuts the roof plane and builds the dormer roof, cheeks, and window opening as one assembly. If you place the window first, the roof opening may not line up with the window. A gable dormer typically uses a 6 foot wide opening and works best on steep roofs. A shed dormer typically uses an 8 foot to 10 foot wide opening and creates more flat ceiling area inside, but it has a longer valley connection.
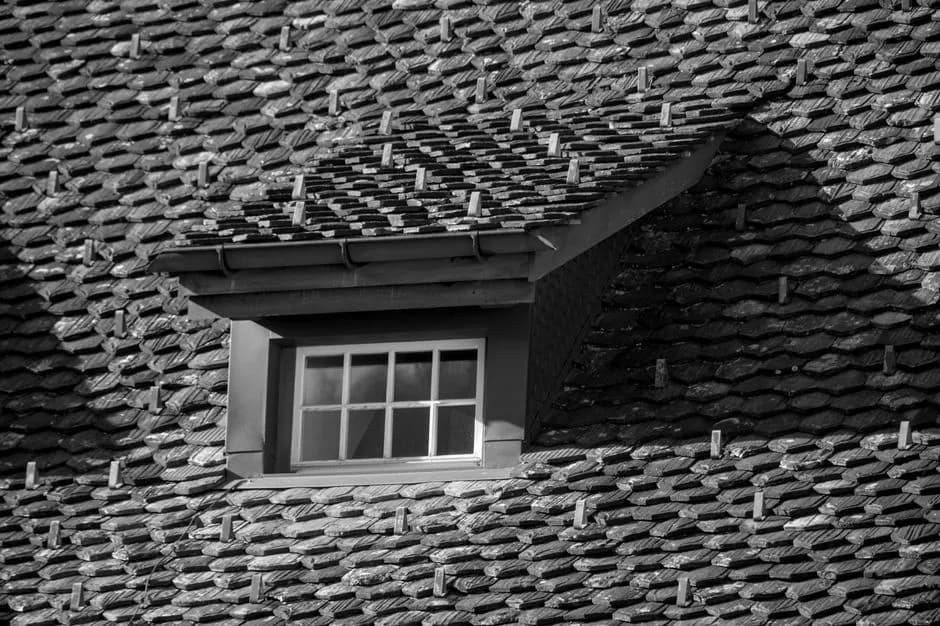
- Gable dormer: narrower opening, classic exterior form, best on 10:12 or steeper roofs.
- Shed dormer: wider opening, more usable floor and ceiling area, shallower roof slope over the window.
- Eyebrow dormer: curved roof face, mostly decorative, less structural floor gain.
- Dormer with a standard window: use a window set into a dwarf wall after the dormer opening is created.
Lower the knee walls and finish the attic room
After the roof and dormer are in place, draw the knee walls parallel to the front and rear walls. Set the knee wall height to 4 ft 6 in to 5 ft above the finished floor, or use Wall Properties to let the wall trim to the roof plane automatically. The knee wall defines where the sloped ceiling meets the floor edge and where storage or built-in cabinetry can sit. Keep at least half the floor area at a 7 ft ceiling height for a comfortable bedroom. If the roof pitch is too shallow, the room may not meet that clear height, so go back to the roof plane before adding furniture. The dormer opening should sit inside the clear height zone, not behind the knee wall.
Model finishes last, then check the section view
Assign wall and ceiling finishes only after all roof, dormer, and knee wall geometry is set. Changing roof pitch after materials are assigned can misalign wall returns, ceiling seams, and dormer casings. Use the section elevation and 3D orbit tools in ArchiMaster 3D to check the sloped ceiling from inside the room. Look for gaps at the knee wall top, daylight at the eaves, or a dormer cheek that stops short of the main roof. The model is ready for lighting and furniture only when the section view shows continuous planes. This sequence matters more in attics than in flat-ceiling rooms because the ceiling plane is also the structural roof plane. The same workflow is available across ArchiMaster 3D editions, so you can test a dormer before committing to a build.
- How do I create a sloped ceiling in ArchiMaster 3D?
- Set the roof plane to the correct pitch and set the walls to the plate height. The underside of the roof plane becomes the sloped ceiling automatically. Adjust the assembly thickness from the roof object settings if the ceiling plane sits too high.
- How do I add a dormer window in ArchiMaster 3D?
- Select the dormer object, choose the roof face, and set the opening reference first. The dormer cuts the roof and adds its own roof, cheeks, and window opening. Choose a gable or shed dormer based on the opening width and the usable floor you need.
- What roof pitch works for an attic bedroom?
- Use at least an 8:12 pitch on a 24 ft deep gable to keep usable headroom. A 12:12 pitch creates more clear floor area but taller exterior walls. Check that half the room has a 7 ft ceiling before adding furniture.
- Why do my walls poke through the sloped ceiling?
- The walls are likely taller than the roof trim height. Set the knee walls to 4 ft 6 in to 5 ft, or use the wall trim to roof plane command. Draw interior partitions after the roof is placed so they trim to the sloped plane.
- Can I change the ceiling finish on the sloped plane?
- Yes. With the roof object selected, apply the finish material to the underside. The sloped ceiling uses the same roof object as the exterior face, so one setting updates both surfaces.
Try the attic modeling workflow yourself with the free ArchiMaster 3D trial.
Download free trialReady to design with confidence?
See which edition fits the space you’re designing.