
 FIG·01
An attached pergola bolts to the house on a ledger board and shades a narrow patio without eating floor space; a freestanding pergola stands on four posts and can sit anywhere in the yard. ArchiMaster 3D makes the comparison concrete because you can model both structures on the same patio, set a late-August or September sun angle, and walk through the shadows before buying a single post. This walkthrough shows how to compare structure, post placement, shade coverage, and fall usability in ArchiMaster 3D Landscape & Deck, using one patio file and the same furniture to keep the decision honest.
- Attached pergolas use a ledger board and usually two posts, preserving patio floor space; freestanding pergolas need four posts with bracing or embedded footings.
- Fall brings a lower sun angle, so an attached pergola close to the house may leave the far edge of the patio in direct sun by mid-September.
- Model both structures in the same ArchiMaster 3D file by duplicating the patio layer instead of starting from scratch.
- Compare shadow coverage at 3:00 p.m. on the fall date you actually use the patio, not at noon in July.
- Use true-to-scale rafter and post objects to test furniture clearance under each design before you buy materials.
“A pergola decision is not made by look alone; it is made by where the shadow lands on the first cool Saturday in October.”, ArchiMaster 3D Journal
Set Up the Patio and Sun Angle First
Open ArchiMaster 3D Landscape & Deck and draw the patio at its actual size, for example 16 by 20 feet, with the house wall as one edge. Set the location and north orientation correctly because both affect the shadow study. Before modeling the pergola, change the date to a realistic fall afternoon such as September 26, 2026 at 3:00 p.m. The lower sun angle in late summer and fall produces longer shadows than a July noon, so a design that shades correctly in summer can miss the seating area in fall. If you are new to the software, the ArchiMaster 3D suite places the same deck tools in every edition, and the 3D home design software workflow is built around true dimensions rather than freehand shapes.
Duplicate the patio before you build
Save a clean base file with the patio, house wall, furniture, and the fall sun setting. Then save two copies: one named 'attached pergola' and one named 'freestanding pergola'. Keeping the furniture identical in both files is the fastest way to make a fair comparison, because different chair placements change the perceived shade far more than most people expect. Use the duplicate project command or a manual copy in your file manager. In each file you can orbit to the same camera height and compare the view side by side later.
Model the Attached Pergola
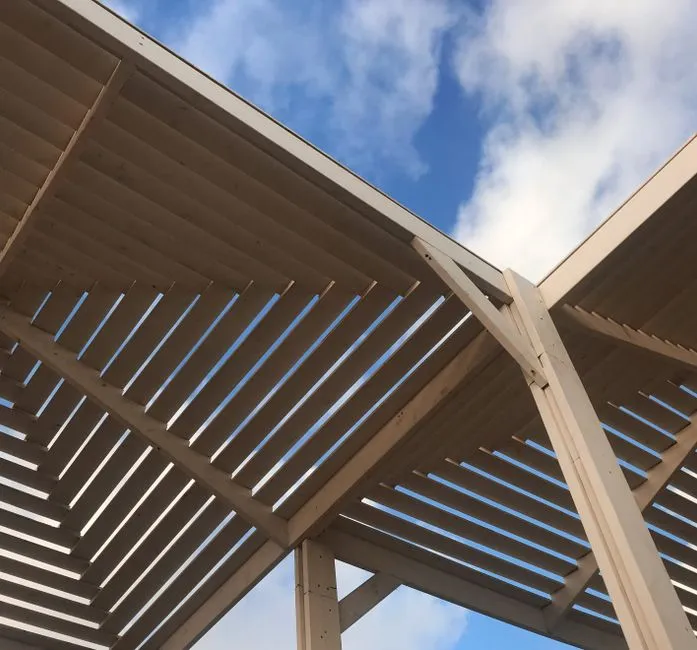
In the attached file, draw a ledger line on the house wall 8 feet above the patio surface. A real ledger board must fasten into house framing, not just siding, so check the model against the location of wall studs or rim joists. Run a beam parallel to the house, supported by two 6x6 posts at the outer edge, then span the rafters from the ledger to that beam. Rafters made of 2x8 lumber spaced 16 inches on center work for a typical 10 to 12 foot throw, while a 2x10 ledger and rafter set handles longer spans with less sag. In ArchiMaster 3D, use object snaps to keep the posts flush with the beam and the rafters square to the house.
Check door swings, gutters, and the shade line
An attached pergola changes the house facade and can conflict with a door swing, a gutter, or a downspout. In the 3D view, orbit to eye height and open the door to test the swing. Place a downspout if the patio has one, then look for the rafter shadow at 3:00 p.m. The non-obvious fall issue is that attached shade moves toward the house as the sun sinks. The patio area that sits under full shade in July can be exposed by late September, so extend the rafter overhang 18 to 24 inches past the outer beam before you reject the attached option.
Model the Freestanding Pergola
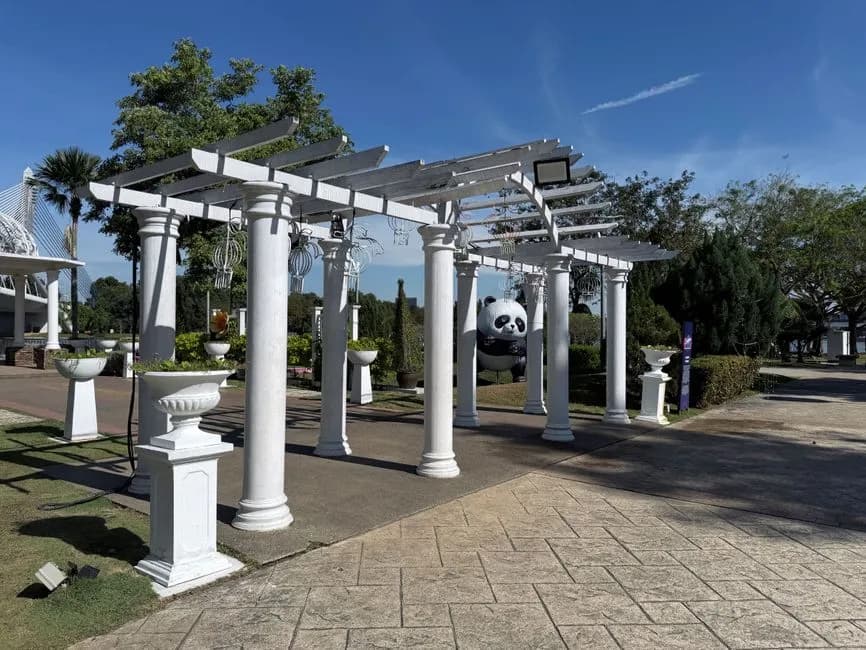
In the freestanding file, place four 6x6 posts at the corners of a 12 by 14 foot rectangle. Run two beams across the tops of the posts, then set rafters perpendicular to the beams at the same 16 inch spacing. Unlike an attached pergola, a freestanding structure needs lateral stability, so add knee braces at the post to beam connections or model the posts as embedded in concrete footings. If the library does not include the exact brace, use a short angled 2x6 from the library and rotate it into place. The key advantage appears immediately in the model: the structure casts shade in every direction, which matters more as the fall sun drops.
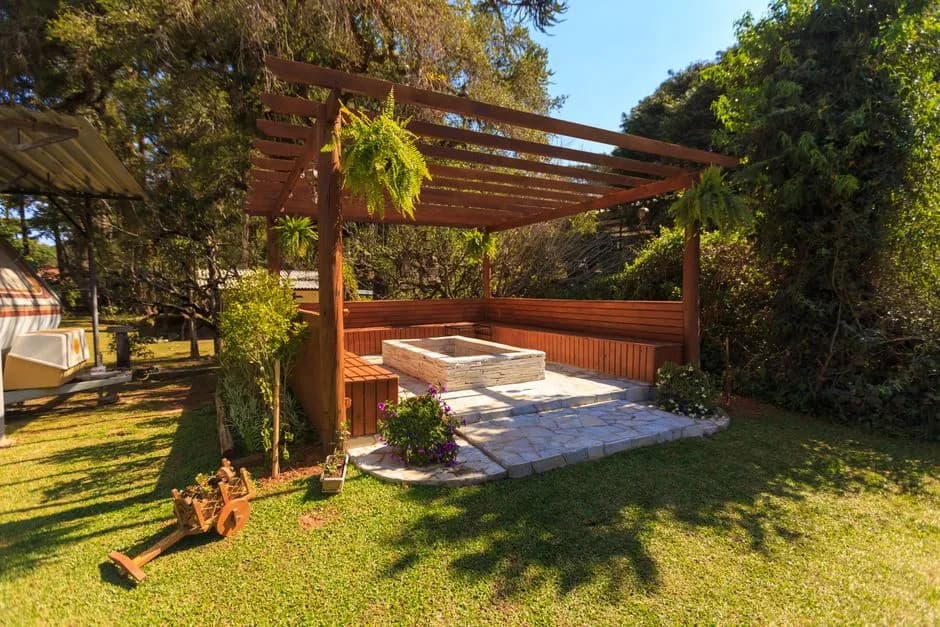
Braces and footings matter more than post size
A freestanding pergola is a small building, not just a shade cover. The posts must resist racking from wind and the weight of wet rafters. In ArchiMaster 3D, you can test two conditions side by side: one model with knee braces on all four corners and one with bare posts. The braced version shows realistic hardware and tells you how much lumber to order. Set the post bases as embedded footings rather than surface mounts if the patio will be poured later, or search the library for adjustable post bases that sit on an existing slab. Either way, the model should match how the posts will actually be anchored.
Compare the Two Designs Objectively
With both files saved, bring the patio, furniture, and sun settings into one comparison view. Set the camera to the same height and angle in each file, then record four specific measurements: the shaded area at 3:00 p.m., the number of posts, the clearance under the beams, and the distance from the house to the outer edge. A quick side by side comparison usually reveals that the attached design shades less of the far patio in fall, while the freestanding design shades a larger area but consumes roughly 40 to 50 square feet of paving with post bases and bracing. Neither is wrong; the model just makes the tradeoff visible.
- Shaded area at 3:00 p.m. on September 26, measured in square feet.
- Number of posts and the footprint each design requires inside the patio.
- Vertical clearance under the beams, measured from patio surface to rafter bottom.
- Distance from the house wall to the outer beam, which affects gutter and door clearance.
- Material list length for rafters, beams, posts, and bracing, generated from each model.
Choose the Option That Fits the Fall Patio
The attached pergola is the stronger choice when the patio is narrow and the seating sits close to the house, because two posts keep the floor open and the ledger braces the structure against the wall. The freestanding pergola wins when the patio is wide open, the best seating is away from the house, or the wall is brick, stucco, or siding that makes ledger attachment risky. In ArchiMaster 3D, run one final shadow test at 5:00 p.m. on the first weekend of October. If the attached design leaves the main seating in full sun by then, add deeper rafters or a light canopy. If the freestanding design shades the seating but crowds the grill, move the posts outward and reuse the same roof assembly with longer beams. Making the change in the model costs nothing; making it after the lumber is cut costs days.
- Does an attached pergola need a building permit?
- In many U.S. municipalities, an attached pergola requires a permit because it connects to the house and may affect the wall structure. A freestanding pergola under 120 square feet often does not, but check your local code. ArchiMaster 3D helps you produce a clean plan view to bring to the building department.
- How many posts does an attached pergola need?
- Most attached pergolas use two posts at the outer edge, with the house wall serving as the third and fourth support through the ledger board. If the span exceeds about 16 feet, a third post or a larger beam may be needed. The model lets you test the beam span before you build.
- What size rafters should I use for a pergola?
- For a typical 10 to 12 foot rafter span, 2x8 rafters at 16 inches on center are common. For spans over 12 feet or heavy snow loads, step up to 2x10 or 2x12 lumber. ArchiMaster 3D uses true rafter dimensions, so the model reflects the actual depth of the shade structure.
- Can I convert an attached pergola design into a freestanding one?
- Yes. In ArchiMaster 3D, duplicate the patio file, delete the ledger and house-connected posts, then place four new posts and add knee braces. Because the rafter and beam objects carry over, the comparison takes only a few minutes.
- Which pergola style shades better in fall?
- A freestanding pergola usually shades a larger area in fall because it sits away from the house and casts shadow in all directions. An attached pergola can shade the same seating if you extend the rafters or lower the beam, but the fall sun angle exposes more of the patio near the outer edge.
Model both pergola options on your real patio and watch the fall shadow move before you buy a single post.
Try Landscape & Deck freeReady to design with confidence?
See which edition fits the space you’re designing.