

 FIG·01
You model a sloped garden in ArchiMaster 3D by setting the site's size and base level, then shaping the ground with slopes, plateaus, hills and berms, and finally layering retaining walls, plants and path lights on top. The continuous 3D feedback lets you catch drainage problems and awkward sightlines before a single paver is ordered.
- The terrain tools are included in the Expert, Ultimate Home Design and Landscape & Deck editions. Kitchen & Bath is an interior-only edition and does not include them.
- Ground shaping is done with Slopes, Plateaus, Hills/Valleys and Berms/Trenches. Each takes a height value, and a negative height turns a hill into a valley or a berm into a trench.
- Contour lines are generated for you. As soon as the ground has shape, contours appear in 2D Plan view, and you set their start elevation and interval in Document Settings.
- Retaining walls trace the grade change you have modelled, so a terrace edge reads correctly in 3D instead of floating above the soil or sinking into it.
- Path lights and fixtures placed on the terrain cast light across the angled surface, so a dusk render of a sloped garden looks like the real thing.
Step 1: Set Up the Site and Its Base Level
Every new project opens on a standard 160ft by 160ft grass terrain that automatically cuts around the building, so start there rather than from nothing. Open Settings > Document Settings and click Terrain in the left pane. Set the terrain size to match your lot, set the base level to your site's datum, and choose a mesh spacing, where a smaller value shows more detail on screen. While you are in that dialog, enable Show Contours and set the start elevation and interval, because contour lines are how you will read the slope in 2D as you work. Then use Insert > Terrain > Site Boundary to trace the actual property line.

One point worth being clear about, because it comes up often: ArchiMaster 3D does not import terrain data. There is no DWG, DXF or XYZ terrain import and no triangulated mesh workflow. File > Import handles CAD drawings, trace images, photo boards, custom objects and BIM files, none of which generate ground. If you have a surveyor's drawing, the practical route is to bring it in with File > Import > Import CAD File or Project Trace Image and keep it underneath as a reference while you shape the terrain by hand with the tools below.
Step 2: Shape the Slope
Open Insert > Terrain and pick the tool that matches the shape you need. Slopes give you a consistent grade across an area. Plateaus create the flat, level areas that make a terraced garden work, with breakline edges where the flat meets the grade. Hills/Valleys and Berms/Trenches each take a height and a zenith value that controls the peak shape, and entering a negative height gives you the valley or the trench instead. For a terraced garden, step a series of plateaus down the hill, each at its own elevation, and let the slopes between them carry the grade.
Watch the contour lines in 2D Plan view as you work. Tight contours mean a steep face, wide ones mean a gentle grade, and contours bunching up where you did not expect them usually means two terrain features are fighting each other. Switch to 3D and rotate the camera to check the result. If you see an unnatural step or spike where a gradual grade should be, adjust the feature causing it rather than stacking another one on top. The terrain updates as you go, which is what turns a guess into a buildable plan.
Step 3: Place Retaining Walls Along the Grade Change
Switch to Insert > Terrain > Retaining Walls and trace a line along the edge of each terrace. The wall holds back the higher ground on one side, so it should follow the line where your plateau meets the slope below it. Set the wall's material from the catalog to match what you intend to build, whether that is poured concrete, segmental block or timber. Placing the wall onto modelled ground, rather than eyeballing it on a flat plane, is what avoids the most common drafting error in landscape design: a wall that either floats above the soil or disappears underground.

For a wall that steps down the hill in sections, place separate wall runs between the terraces and set each against its own plateau edge. This suits natural stone and block walls, where each course steps down anyway. Check the result in 3D from the low side of the garden, which is where a mismatched wall height shows up first.
Step 4: Plant a Slope That Reads Naturally
Insert plants from the Master Catalog, which carries a wide range of trees, shrubs and flowers as 3D models. There is also a Plant Encyclopedia holding around 7,500 species that you can research and insert from, though those are 2D billboard plants rather than full 3D models and they are being retired in future releases. For a sloped garden that has to render well, work from the 3D plants in the Master Catalog and treat the Encyclopedia as a reference for species selection.
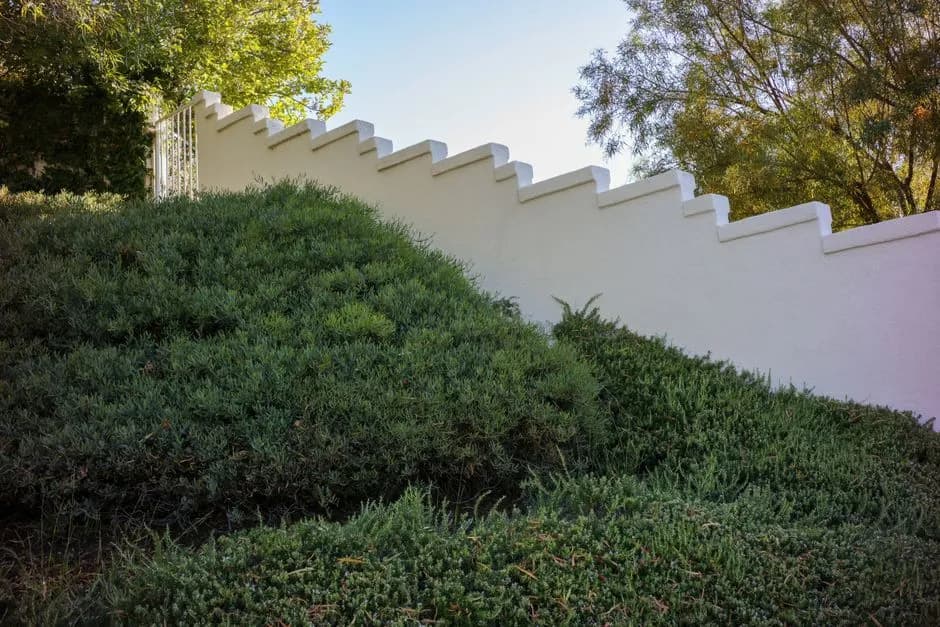
Layering is essential on a slope. Place taller shrubs and small trees toward the top, where roots can anchor deeply, and tuck low groundcovers on the steeper face to control erosion. The 3D views let you check sightlines from indoor windows and from the street. If a mature canopy blocks a key view, replace it with a lower-mounding alternative now, not after three years of growth.
“Model a slope once, then test terracing, planting and sightlines before touching a shovel, that's the power of 3D terrain shaping.”
Step 5: Light the Garden and Render the Scene
Use Insert > Landscape > Exterior Lighting > Exterior Lighting on Terrain to drop path lights, uplights and fixtures directly onto the sloped surface rather than onto a flat plane. Because the fixture sits on the actual terrain, a path light on a graded bank throws an elongated pool of light that reads as authentic. Set the scene to dusk and produce a photorealistic image with 3DRealView. The interplay of light on textured retaining walls and layered foliage is often the detail that helps a client or a family member fully grasp the design.
For evening walkthroughs, create a camera path that descends the terrace steps and output an animation, setting the frame rate and resolution to suit wherever it will be viewed. The result communicates the experience of moving through the sloped garden, something 2D plans cannot convey. More on how the pieces fit together is in our designing with confidence feature.
- Can ArchiMaster 3D import terrain data from a survey?
- No. ArchiMaster 3D does not import terrain data, and there is no DWG, DXF or XYZ terrain import or triangulated mesh workflow. Terrain is shaped with the tools under Insert > Terrain. You can import a surveyor's drawing with File > Import > Import CAD File and use it as a visual reference while you shape the ground.
- Which ArchiMaster 3D edition includes terrain tools?
- Expert, Ultimate Home Design and Landscape & Deck all include the terrain tools, retaining walls and the landscape catalog. Kitchen & Bath is an interior-only edition and does not. See the edition comparison.
- How do I create a terraced garden with multiple levels?
- Step a series of Plateaus down the hill, each set to its own elevation, and use Slopes to carry the grade between them. Then place Retaining Walls along the edge where each plateau meets the slope below it.
- Can I calculate soil volumes for a sloped garden?
- No. ArchiMaster 3D does not calculate cut and fill volumes or produce an earthwork takeoff. Use the contour lines and the 3D view to judge the grading, and have a contractor price the earthworks from the finished plan.
- Does the software simulate drainage on a slope?
- It does not run hydraulic simulations, but the 3D view and the contour lines highlight low spots where water might collect. You can add swales or channel drains as hardscape and adjust the terrain to direct flow.
Ready to sculpt your own sloped garden? Download a free trial of ArchiMaster 3D and open the sample hillside project to explore the terrain tools hands-on.
Get the Free TrialReady to design with confidence?
See which edition fits the space you’re designing.