 FIG·01
To design a home extension in 3D, start by measuring your existing floor plan and importing or tracing it into ArchiMaster 3D’s precise drafting engine, then model the addition as a new floor within the same project. This step-by-step guide shows you how to go from bare walls to a photoreal rendering of your expanded home, avoiding common design mistakes before you pick up a hammer. According to the 2026 Houzz & Home Study, the median major kitchen remodel costs $24,000, but a full house extension often exceeds $100,000; precise 3D planning can protect that investment.
- Start by tracing your current floor plan from a laser-measured sketch or imported image to guarantee your addition aligns perfectly with foundation and roof lines.
- Use ArchiMaster 3D’s multiple-plan tabs to test at least three distinct extension layouts, comparing sightlines, traffic flow, and access to natural light before committing.
- Integrate roof lines as early as the block‑out stage, because a mismatched roof pitch can ruin curb appeal and add thousands to construction costs.
- Furnish and render the new space virtually to catch dimension issues (a dining table that blocks a doorway, for example) that 2D plans miss.
- Walk through your design at eye level with the real-time camera to experience the extension the way you’ll live in it, not just as a top-down blueprint.
1. Capture Your Existing Home with Accurate Measurements
Before you add a single wall, you need a faithful digital twin of your current house. Use a laser measure or a tape and note every exterior length, window opening, and ceiling height. In ArchiMaster 3D, you can import a photo of your home’s exterior, then trace over it with the wall tool to create an exact footprint. This technique works just like the moodboard-to-plan workflow we detailed in From Moodboard to Floor Plan, except you begin with a measured photograph rather than inspiration images. For even greater accuracy, import a scanned floor plan or a DWG file if you have it. The goal is to build an as-built model within ¹⁄₈‑inch tolerance; any error in this initial stage compounds when you attach the extension. ArchiMaster 3D’s home design software uses true-to-scale smart objects, so windows and doors snap to correct rough opening sizes, preserving structural integrity throughout your design.

2. Test Multiple Layouts Before You Settle on One
A home extension is a permanent architectural decision, not a furniture re-shuffle. Use ArchiMaster 3D’s ability to open several plan tabs simultaneously to model three or four entirely different arrangements. Try a side‑return kitchen diner, a rear great‑room, or even a wrap‑around solution that extends sideways and back. As you drag walls in 2D, the 3D camera updates live, so you immediately see how each layout affects light and flow. This iterative testing mirrors the way professional architects work, yet ArchiMaster 3D keeps the process intuitive enough for a motivated homeowner.
Key Layout Considerations
- Sightlines: Does the new opening frame a garden view or a neighbour’s fence?
- Traffic flow: Ensure the addition doesn’t create a long, narrow corridor that chokes movement between rooms.
- Daylight: Place the largest windows on the south‑facing elevation and check shadow patterns with ArchiMaster 3D’s adjustable sun‑position tool.
- Structural columns: A 12‑foot bifold door needs a steel beam; model that beam’s depth early to avoid a dropped ceiling surprise.
Before you dive into the full extension layout, consider that even a simple deck addition benefits from the same 3D planning principles, as we explored in 2026 Deck Design: Create a Photoreal 3D Floor Plan. The same camera tools and material libraries apply, so if you are adding a deck alongside the extension, both can be designed in one seamless project.
3. Roof Integration: Make the Addition Look Original
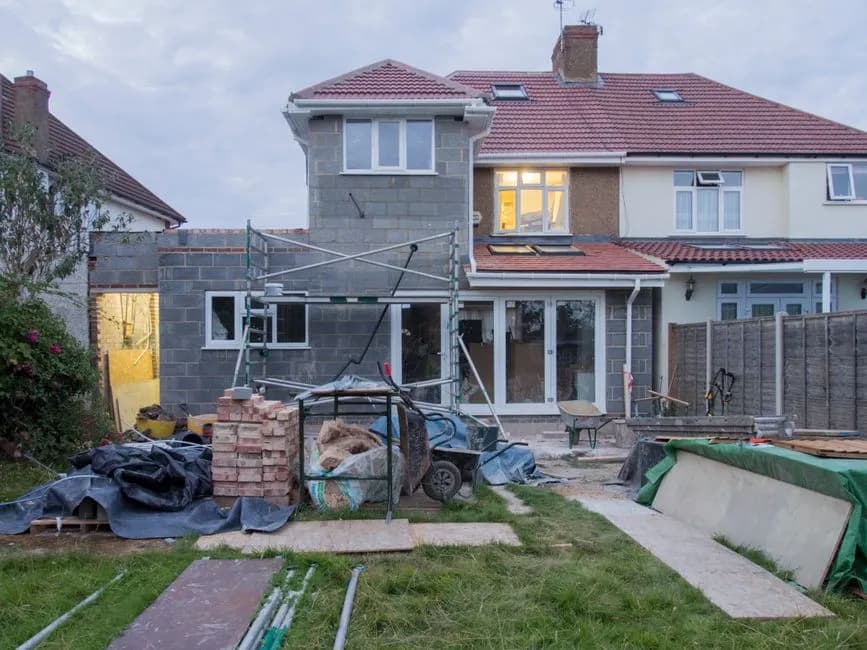
The most telling sign of a poorly planned extension is a roof that looks stitched on. In ArchiMaster 3D, you define roof parameters right on the floor plan: pitch, overhang, ridge height, and dormer cuts. Start by matching the exact pitch of your existing roof (often 30°–45° on pitched‑roof homes). Then, use the roof‑break tool to merge the new slope into the old, automatically trimming intersecting planes. A subtle ridge‑level offset of just 150 mm can create a daylight strip of clerestory windows without changing the outer silhouette, a trick that converts a flat‑roof eyesore into a character‑rich space. By rendering the full exterior with realistic materials, you can spot a visual clash, like modern composite cladding against Victorian brick, and course‑correct before submitting plans.
4. Furnish and Detailing: Turn a Bare Box into a Lived-In Room
Square footage on paper feels generous until you place a dining table and eight chairs inside the digital model and discover the end chair blocks a utility door. ArchiMaster 3D’s product library contains thousands of brand‑name furniture items and cabinets, each true to manufactured dimensions. Drag a sofa under a window, hang pendant lights, and then switch to a 1200‑mm eye‑height camera to judge the room from a seated position. This is where the 3D model earns its keep: you can see the exact space a towel radiator consumes on a bathroom wall or verify that the kitchen island doesn’t pinch the work triangle to 600 mm.

“The magic of 3D planning isn’t the pretty picture, it’s the moment you spot the sofa blocking the patio door before you’ve poured the foundation.”, ArchiMaster 3D Journal
5. Walk Through and Share Your Design
Plans gathered dust only if they can’t be communicated. ArchiMaster 3D lets you record a smooth architectural walkthrough, sailing from the existing living room through a widened opening into the sun‑lit addition. Export high‑resolution stills to show a builder exactly where the steel beam lands, or print dimensioned floor plans and elevations for a permit application. Because every model is shareable as a self-contained project file, you can hand it to a contractor who uses ArchiMaster 3D or export common CAD formats. This closes the gap between your vision and the craftsman, reducing change‑order surprises that typically add 10%–15% to the final build cost.
- Can I design a home extension for free?
- Yes. ArchiMaster 3D offers a free trial that unlocks all core wall, roof, and furnishing tools. You can complete every step in this guide without paying, then decide whether a full edition fits your needs.
- Does ArchiMaster 3D handle multi‑story additions?
- Absolutely. The software supports basements, ground‑floor expansions, and full second‑story builds. Floors stack automatically while you control wall heights and window alignment, so a room‑over‑room addition is straightforward.
- I’ve never used 3D software. Can I really plan an extension?
- Yes. The interface is built for homeowners: drag walls, drop windows, and trace shapes. Most users trace their existing home within 15 minutes. Built‑in video guides and templates remove the guesswork from trickier elements like stairs and dormers.
- How do I get accurate contractor quotes from my model?
- Export dimensioned floor plans, elevations, and a material list (door/window schedules, square footage, roof areas). Builders can quote precisely from these documents, avoiding ballpark figures that often miss costly structural work.
- Will my extension design meet building regulations?
- ArchiMaster 3D produces code‑ready documentation, but compliance depends on local rules. The software shows egress paths, ceiling heights, and structural openings clearly, making it simpler for an architect or building inspector to approve your plans.
Ready to build the perfect extension? Download ArchiMaster 3D’s free trial and start turning your ideas into a detailed 3D model today.
Free DownloadReady to design with confidence?
See which edition fits the space you’re designing.