
 FIG·01
Fall is the right season for a kitchen refresh, and you can do it without moving plumbing. A 3D kitchen design in ArchiMaster 3D lets you keep the sink, range, dishwasher, and refrigerator rough-ins exactly where they are while you redesign the cabinet fronts, countertops, splash, hardware, paint, and lighting around them. Because every plumbing fixture stays fixed, you avoid the most expensive and disruptive scope in a kitchen remodel and turn a months-long renovation into a focused project that can be installed in stages. The key is testing the whole room in true scale before you buy a single cabinet door.
The practical advantage of a no-plumbing refresh is not just lower cost, it is predictability. Once the water lines, drain stack, and venting do not move, you are mostly changing surfaces and fixtures, not opening walls or subfloors. That means a fall project can run while you still use the sink on weeknights, and the work can stop and restart without leaving a construction site in the middle of the house.
- Moving a sink, dishwasher, or gas range usually means new supply lines, a new drain location, vent changes, and patchwork in the floor and wall. Keeping those rough-ins fixed removes the highest-cost line item from a kitchen refresh.
- 3D kitchen design allows you to test replacement cabinet fronts, full counter slabs, backsplash colors, and undercabinet lighting in real dimensions before ordering materials.
- A photoreal before-and-after render catches glare on polished counters, wobbly cabinet alignment, and the wrong light temperature faster than a pile of physical samples.
- With the plumbing plan locked, conventional cabinet, countertop, and lighting refreshes can usually be broken into one- or two-weekend phases without shutting down the kitchen for weeks.
Why a Fixed-Plumbing Plan Shortens a Fall Refresh
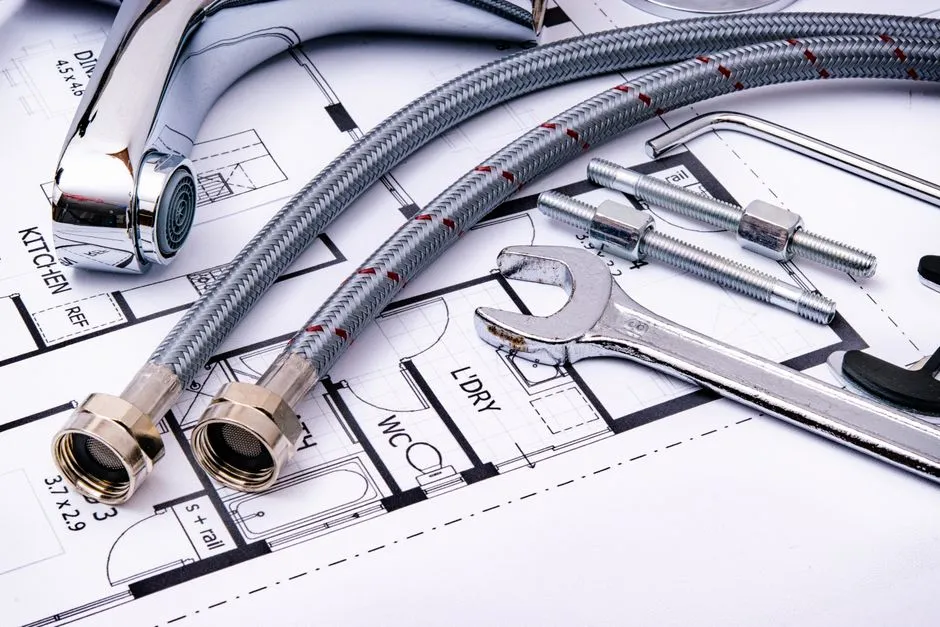
Relocating a sink or gas line sounds simple on paper, but it is not a one-day change. A sink move often requires cutting the subfloor, extending the drain line, re-venting through a wall, and relocating supply stops. A gas range move adds rigid pipe or a new flexible connector plus a permit review in many jurisdictions. When you keep the sink and range where they are, all of that hidden work disappears from the schedule. The surface changes that remain, cabinet doors, counters, tile, lighting, and hardware, are predictable enough to stage around normal life. Use a dedicated 3D home design package to map those fixed anchors first and design everything else around them.
Build the Existing Kitchen First, Not the Wish List
A reliable before-and-after render starts with an accurate model of the room you have now. In ArchiMaster 3D, enter the measured length, width, and ceiling height, then place doors, windows, and the plumbing fixtures that will not move. Use true cabinet depths rather than decorative guesses: a standard base cabinet is 24 inches deep and 34.5 inches tall, plus a 1.5-inch countertop for a 36-inch finished height. Wall cabinets are usually 12 inches deep and start 18 inches above the counter. If the model is off by even two inches, the render will lie to you. Move around the model at eye level now, before you change a single finish.
Capture the dimensions that usually get missed
Measure the toe kick, crown molding, side filler strips, and the space between the counter and wall cabinets. These small gaps determine whether off-the-shelf cabinet fronts fit without scribing. Also record the location of the sink drain and the gas stub, not just the appliance widths. The model does not need to be beautiful at this stage, it needs to be true.
Cabinet, Counter, and Lighting Updates That Keep Pipes Exactly Where They Are
Cabinet setbacks and countertop changes create the visual weight of a refresh, and none of them require moving a drain line. The trick is to change the material hierarchy, not the footprint.
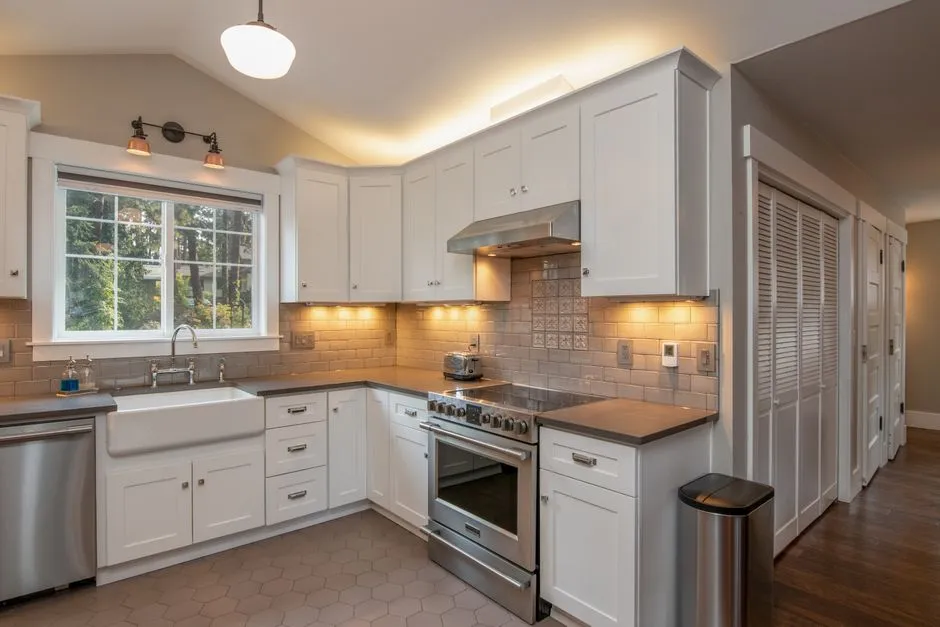
- Replace upper cabinet doors and drawer fronts while keeping the existing cabinet boxes and hinge locations.
- Swap a dated peninsula counter for a deeper overhang or a waterfall edge, but keep the sink base and faucet cutout in place.
- Install a new backsplash to draw the eye up; this only touches the wall surface between counters and upper cabinets.
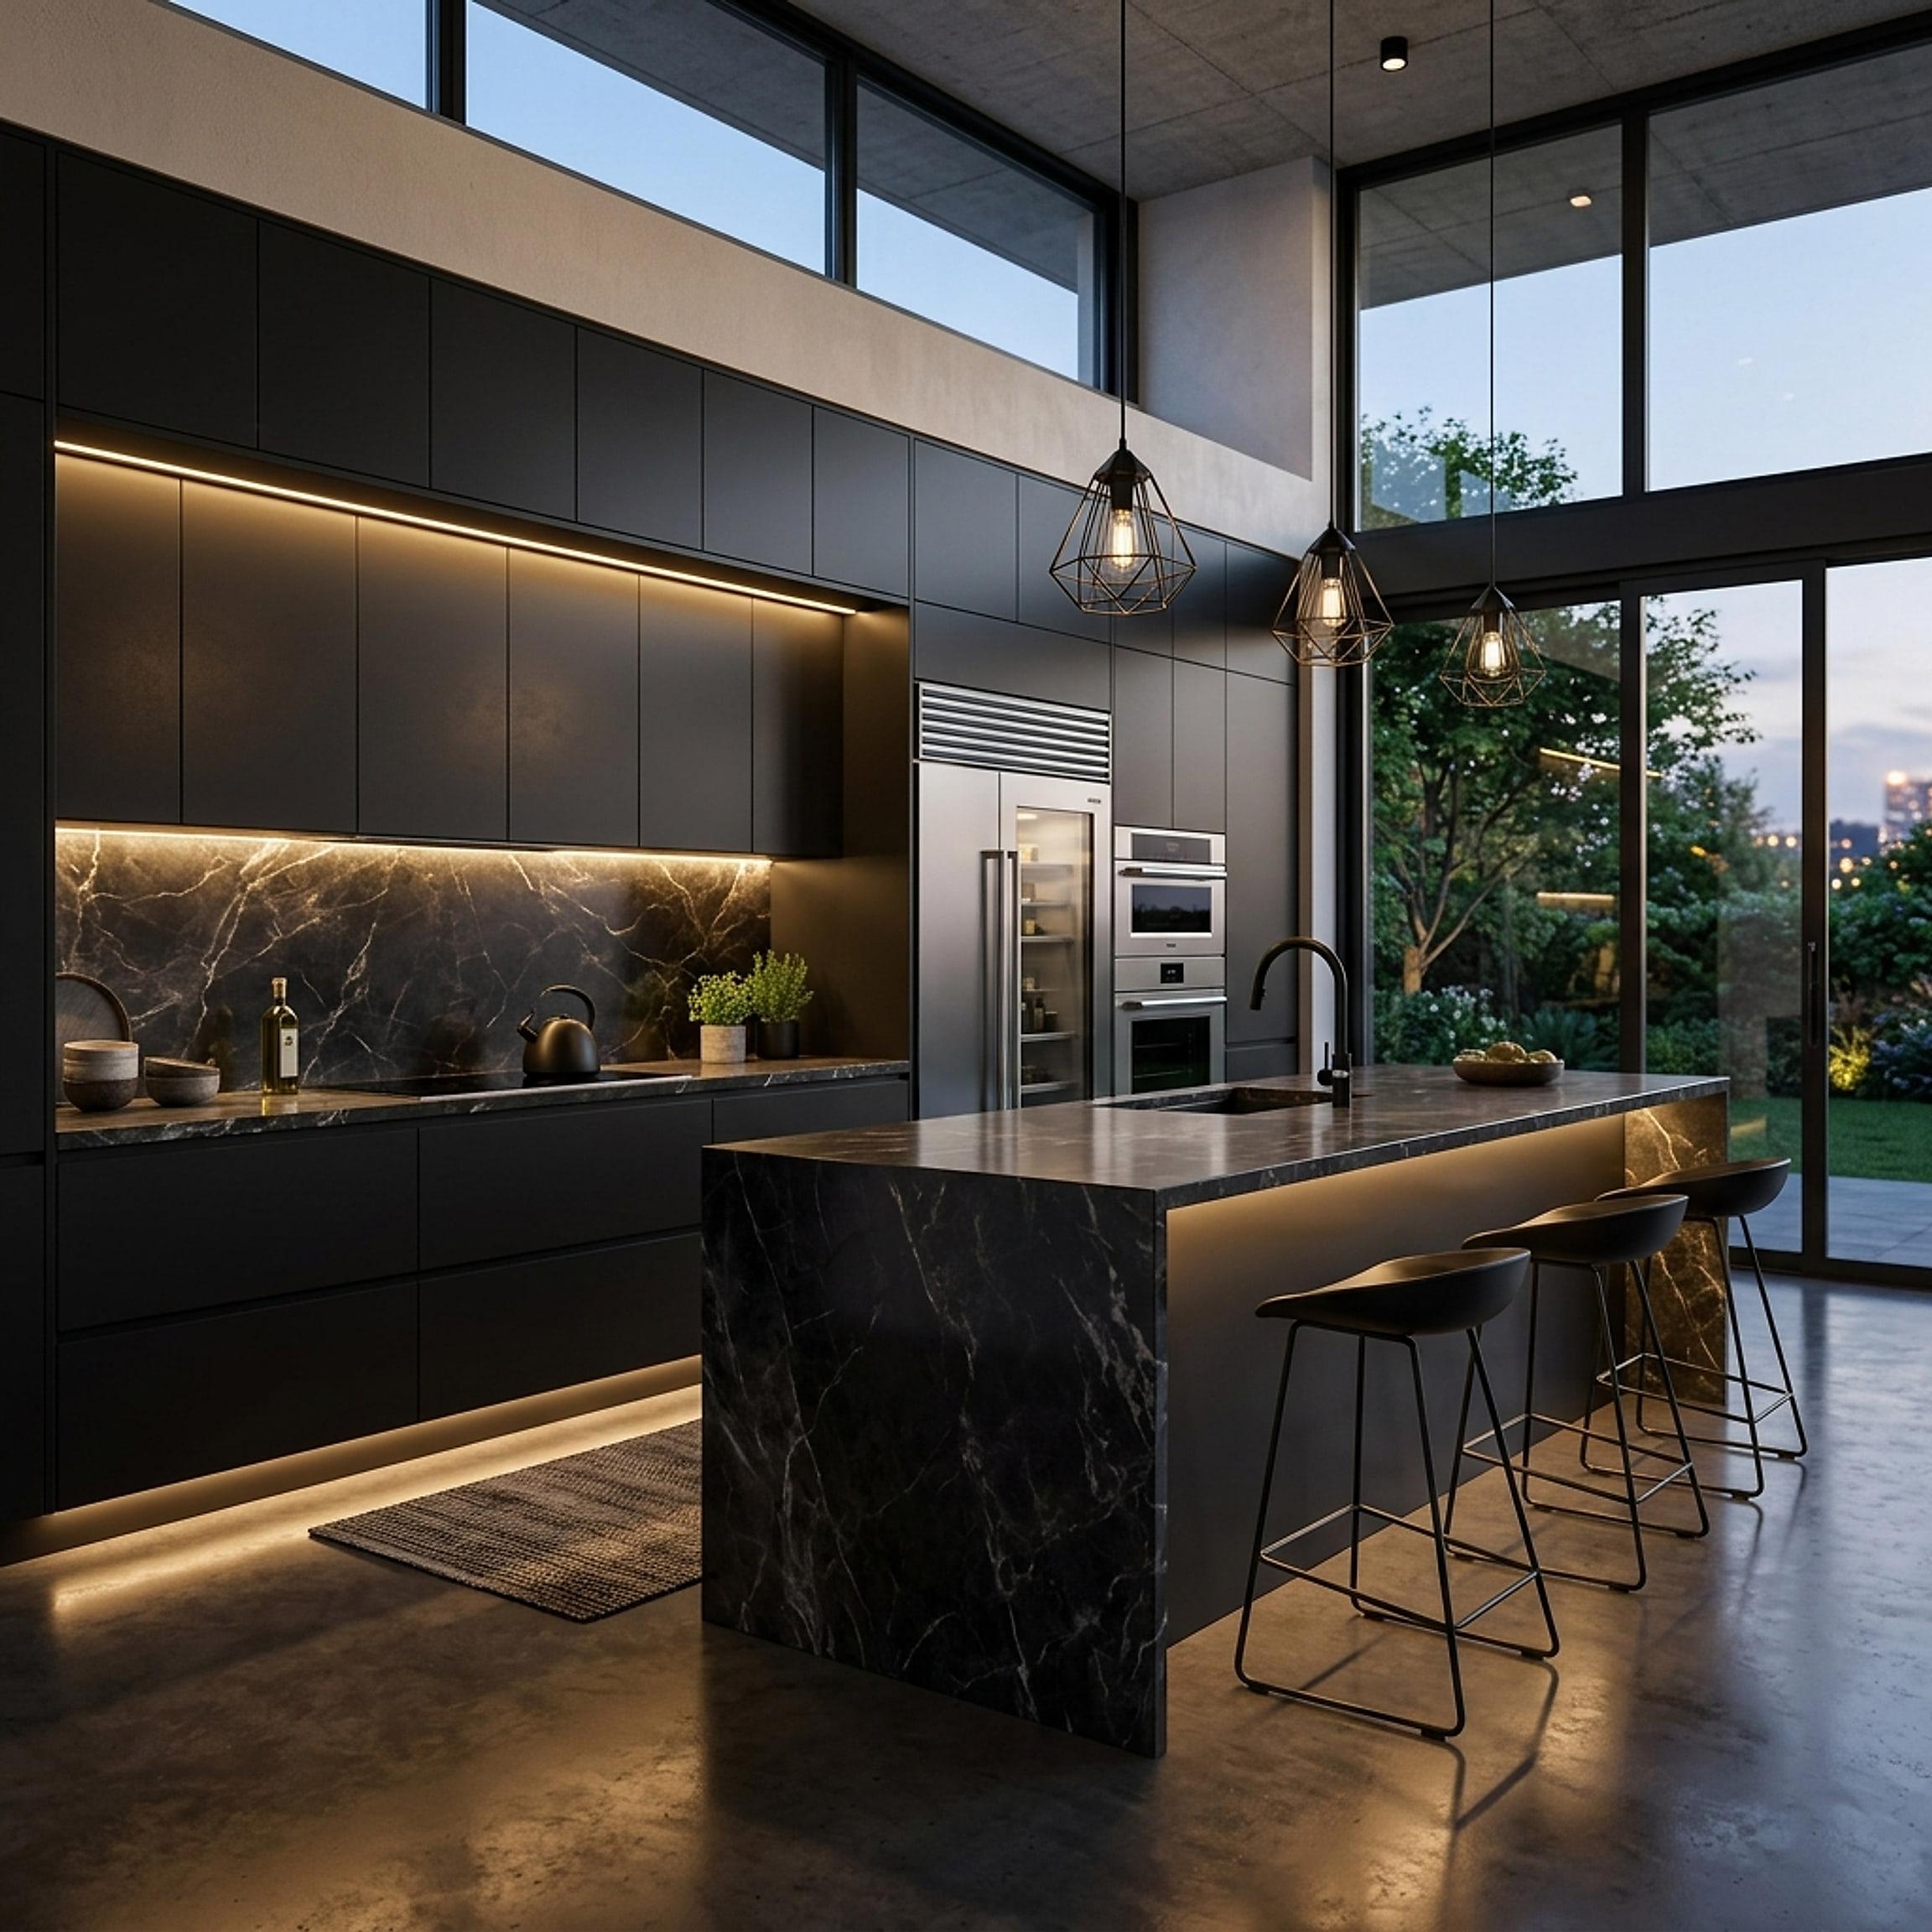
- Add undercabinet lighting on a dimmer, which changes the room more at 7 p.m. than any cabinet color.
- Update crown molding, light rail, and hardware for a tailored look without opening a wall.
One non-obvious upgrade with high return is changing the countertop edge profile and overhang rather than the entire material. A 1.5-inch mitered edge reads far more architectural than a standard square edge, and a 12-inch peninsula overhang instantly creates a seating zone without moving the sink. These details are easy to test in 3D because you can view them from standing and seated heights.
Render a Photoreal Before and After Before You Spend
Software-generated images only become decision tools when they show the same camera angle in the same light. In ArchiMaster 3D, build two versions of the room: the as-built kitchen with its current finishes, and the refresh with the proposed cabinet fronts, countertops, backsplash, and lighting. Then save the camera at the main entry, at the sink, and at the seating area. Render the same views in both versions and compare them side by side. This catches issues no sample board can show, such as a glossy white counter that creates glare under a west-facing window or wall cabinets that appear too heavy against a dark floor.
Use light temperature as a design material
Set the render to late afternoon or early evening, the times you actually use the kitchen. A 2700K undercabinet light will warm a neutral quartz, while a 4000K light can make the same stone look sterile. ArchiMaster 3D shows shadows and reflections across the real materials, so you can check that the lighting plan supports the finish plan instead of fighting it.
“Measure the view from the doorway before you measure the tile sample. A 3D kitchen design only saves you money if it predicts the room you actually see when you walk in.”
Check the Workflow Before Locking the Layout
Even when plumbing does not move, the kitchen still has to work. Keep 15 inches of landing space on each side of the cooktop, 18 inches of counter on one side of the sink, and at least 12 inches next to the refrigerator. Maintain a 42-inch walkway for a one-cook kitchen and 48 inches if two people cook at once. In the 3D model, turn on door swings and test drawer extension against the refrigerator handle, the dishwasher, and each other. If a corner cabinet door misses the range by an inch, you will not see that in an elevation, you will see it in the overhead plan. Compare L-shaped and U-shaped options around the fixed plumbing before committing, as outlined in 2026 Kitchen Layouts: Test L-Shaped vs U-Shaped in 3D.

Move from Render to Material Orders
Once the before-and-after passes the workflow checks, export the 2D floor plan and cabinet elevations from the model. Use those dimensions to buy cabinet doors, counter slabs, tile, and light fixtures with exact quantities. Most cabinet-finished goods and stone suppliers sell by the square foot or linear inch, so a plan that is off on depth or length becomes an expensive restocking fee. The ArchiMaster 3D approach is sequential: model the fixed plumbing, test finishes in render, correct clearances, then order. The ArchiMaster 3D product suite runs on one engine across editions, so the same plan you approve can be shared with a fabricator or installer without redrawing it.
- Can I do a full kitchen design without moving plumbing?
- Yes. Keeping the sink, dishwasher, range, and refrigerator in their current positions removes the need to reroute supply lines, drains, vents, or gas. The redesign then focuses on cabinets, counters, splash, lighting, and finishes, all of which can be modeled accurately in 3D before purchase.
- What should I model first in a 3D kitchen design?
- Model the room shell first: length, width, ceiling height, doors, windows, and fixed plumbing fixtures. Then add base and wall cabinets with true depths, usually 24 inches and 12 inches, and verify eye-level views. A true existing model is the only reliable base for a before-and-after render.
- Which kitchen changes do require moving plumbing?
- Moving the sink, dishwasher, or a water line for a refrigerator, adding a second sink, moving a gas range, or relocating a laundry connection typically requires plumbing changes. If you avoid those moves, the refresh can proceed without opening floors or walls.
- How long does a no-plumbing kitchen refresh take?
- Because the rough-ins stay fixed, most fall refreshes split into cabinet fronts and hardware over a weekend, counters and backsplash over another, and lighting trim after that. The total timeline depends on material lead times, but the work itself is far less disruptive than a full gut.
See your kitchen in photoreal 3D before you buy a single cabinet door. Download the free ArchiMaster 3D trial, model your existing footprint, and render the fall refresh side by side.
Download free trial- Who
- Written by Ahmed El Alaoui, editorial direction & marketing analytics at Richdale AI, the company behind ArchiMaster 3D.
- How
- Drafted with AI assistance from the ArchiMaster 3D Kitchen & Bath feature set and checked claim by claim against the product fact sheet on Sep 8, 2026. Photographs are stock illustrations, not renders from the software.
- Why
- Help homeowners get a kitchen or bathroom layout right to the inch before they order cabinets or hire a contractor.
Ready to design with confidence?
See which edition fits the space you’re designing.