
 FIG·01
Designing an arched doorway in 3D begins by defining the wall opening and extruding a curved profile, a process ArchiMaster 3D streamlines with its true-to-scale library and smart shape tools. This guide takes you through building a photorealistic arch from initial wall layout to final rendering, using the same engine that powers every edition of the software. Whether you are opening a cased entry between living and dining rooms or adding an arched passage to a mudroom, precise 3D visualization lets you test sightlines, proportion, and light before a single stud moves.
- Begin with a clean wall opening defined by exact height and width to establish the arch’s footprint.
- Use a curved ceiling or custom spline profile to shape the arch rise; both produce a true, repeatable sweep.
- Applying crown molding and casing along the arc instantly lifts the model from schematic to photoreal.
- One well-lit rendering, set to a fall afternoon, eliminates guesswork and aligns expectations with your contractor.
- Fall is peak season for millwork upgrades: architectural openings recoup significant value, according to our 2026 home design statistics.
Why Arched Doorways Are the Fall 2026 Must-Have
Arched transitions are surging again, driven by a desire for soft geometry in open plans and the warmth homeowners seek as the seasons turn. The 2026 home design statistics we track show that interior architectural details rank among the top three value-adding projects this year, right after kitchen and bath updates. An archway does more than frame a view: it changes how you experience a room, slowing the eye and lending a sense of arrival without adding square footage. For anyone planning a fall remodel, this is the kind of detail that photographs beautifully and feels substantial. To see how ArchiMaster 3D fits into a broader autumn project workflow, our roundup of the best 3D home design software for fall projects explains why a dedicated home-design engine outperforms generic modeling tools.

Setting Up Your Wall Opening in ArchiMaster 3D
Open your project, switch to the Wall Editor, and draw the walls that frame your new opening. The height and thickness must match your existing construction, a detail the software captures automatically when you set the room ceiling to 8 or 9 feet. Click Wall Opening from the structure menu, then click and drag across the wall to place it. Type in the rough width, typically 32 to 48 inches for a passageway, and the height to the spring line where the curve begins. For a classic elliptical arch, set the spring line at about 7 feet above the finished floor, leaving enough headroom underneath the curve. This parametric opening will hold its dimensions when you revise surrounding walls, so you can experiment with widening the opening later without redrawing the whole room.
How to Create a True Arch Shape
You have two clean methods for building the arch itself, both available in every ArchiMaster 3D edition. The faster route uses the Curved Ceiling tool; the more bespoke route starts with a spline you draw once and sweep.
Using the Curved Ceiling Tool for a Smooth Arch
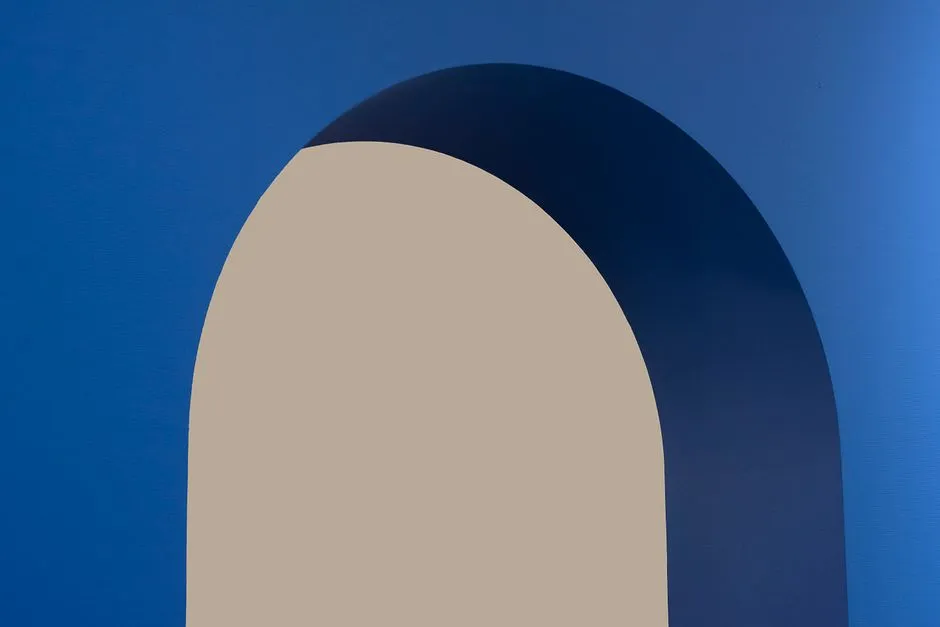
With the opening selected, enter the Room Wizard and change the ceiling type to Curved. Set the radius to half the opening width for a perfect half-circle or adjust the rise to create a shallower elliptical arch. The software automatically trims the ceiling to the wall boundaries above the opening, leaving a clean arched head. If the ceiling connects to a flat section, simply raise the wall height beyond the opening and the curve blends seamlessly. This method excels when your arch is part of a hallway with uniform width and you want the ceiling plane to flow through the passage.
Building a Custom Arch Profile from Splines
For a more detailed arch, such as a Tudor or segmental shape, draw a 2D profile on the floor plan using the Spline tool. Then select Extrude Along Path and pick the wall’s top edge as the path. The profile sweeps up, forming the arch face. This approach lets you import a specific radius from an architectural detail sheet or match an existing arch in an older home. Here is the workflow condensed into steps:
- Trace the desired arch profile as a closed polyline in Plan View.
- Select the path edge along the interior perimeter of the opening.
- Use Sweep to generate a 3D solid that fills the arch head.
- Adjust the material to match drywall or plaster, then subtract the solid from the wall body to reveal the finished opening.
The spline method gives you full control over arch height, depth, and reveals, essential when you need to show a contractor exactly how the arch meets the jamb.
Adding Trim and Molding for Photorealism
The difference between a schematic block-out and a convincing room rendering often comes down to millwork. ArchiMaster 3D’s built-in library includes dozens of crown molding and casing profiles that can be applied along a curved edge. Select the molding from the library, hold the Shift key to restrict placement to the arch surface, and drag along the arc. If you need a custom profile, you can import a 2D section and extrude it. For a cohesive look, pull the same casing style from a nearby cased opening or baseboard detail. This visual consistency is what makes a model feel like a photograph, and it gives you an honest preview of how natural light will catch the molding’s contours at different times of day.
Lighting and Rendering the Archway
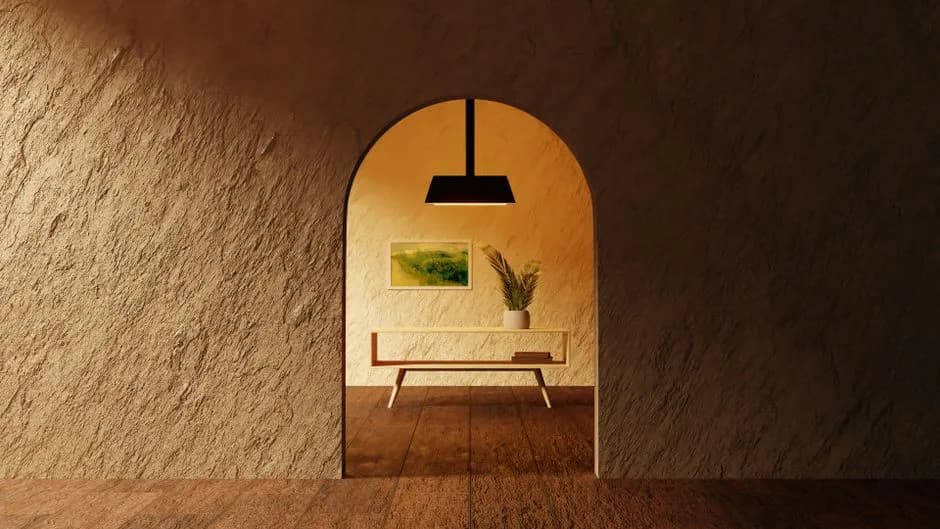
Set your scene to a late afternoon in October using the Sun Angle tool; the long, low light emphasizes the curve’s depth and casts soft shadows inside the reveal. ArchiMaster 3D’s photorealistic renderer handles indirect bounce light, so you will see how the arch throat carries illumination from one room to the next. Place a point light in the adjacent room to simulate a pendant or sconce, then run a full-quality render. The result is a pixel-accurate preview that you can share with a builder or interior designer. As we outlined in our vision for 2026, seeing the outcome with this level of realism builds the confidence to commit to an opening that changes the way light moves through your home.
Exporting Plans for Your Contractor
Once the model is approved, generate dimensioned 2D floor plans and elevation views directly from the 3D scene. ArchiMaster 3D’s layout manager pulls the arch profile into the elevation sheet, labeling the spring height, radius, and casing dimensions automatically. You can export a PDF with standard architectural scales and markups, or share a link to the interactive 3D model that lets your contractor orbit the arch and take measurements themselves. This step eliminates the classic communication gap between a homeowner’s inspiration photo and the framer’s tape measure.
“An arch isn’t just an opening; it’s a promise of transition that makes a room feel intentionally crafted.”, Design Principle
- What’s the best arch shape for a narrow hallway?
- A shallow elliptical arch with a rise of only 6 to 10 inches works best because it preserves headroom while still softening the transition. Using the Curved Ceiling tool in ArchiMaster 3D, you can test multiple radii quickly to find the shape that feels most open.
- Can I model a pointed Gothic arch in ArchiMaster 3D?
- Yes. Draw a custom spline profile with two arcs meeting at a central peak, then use the Sweep modifier along the wall opening path. Add a keystone detail from the library or import a custom 3D model for an authentic pointed arch.
- How do I match existing baseboard profiles around the arch?
- Select the existing baseboard molding in the 3D view, copy its profile from the object properties, and apply it to the curved segment using the Paste Profile command. You can then adjust the offset so the baseboard wraps cleanly into the arch base. The software blends the corners automatically.
- Will the rendering show accurate shadows for an east-facing archway?
- Absolutely. Set the geographic location and orientation of your home, pick an early morning time, and the sunlight tool calculates precise shadows across the arch’s interior reveal. This reveals whether you will get a dramatic lit arch at dawn or need supplemental sconces.
- Can I visualize an arch with a sliding barn door in 3D?
- You can. Place the arch opening first, then insert a barn door from the door library and position its track above the arch head. The rendering engine will show the door’s offset from the arch face, letting you confirm the door slides completely clear of the curved opening.
Ready to design your own arched doorway? Download a free trial of ArchiMaster 3D and open any wall in your plan.
Start Free TrialReady to design with confidence?
See which edition fits the space you’re designing.