
 FIG·01
You can design a fully functional home office layout in a weekend using 3D home design software. The right tool lets you test desk placement, window orientation, and storage before moving a single box. Whether reclaiming a spare bedroom or carving out a nook, the 2026 back-to-school season is the perfect time to create a dedicated workspace. Free tools like Sweet Home 3D let you sketch a basic floor plan, but when you need photorealistic renderings, accurate catalog items, and easy editing, a purpose-built solution like ArchiMaster 3D cuts planning time dramatically. Starting with a 3D model instead of guesswork means fewer returns, less physical strain, and a layout that truly supports focus and video calls. This guide walks you through the fastest way to design that space, comparing free and affordable 3D design tools so you can choose the one that fits your speed and ambition.
- A weekend is enough to design and implement a home office layout if you start with a 3D model rather than trial-and-error.
- Free 3D design tools often lack accurate furniture libraries and export options; affordable premium software offers full furnishing catalogs and lighting simulations.
- Placing your desk perpendicular to a window reduces glare, a common mistake that 3D sun studies reveal instantly.
- With hybrid work still the norm for over half of professionals, a dedicated home office adds both daily comfort and property value.
- ArchiMaster 3D’s one-time license model means you own the tool, with no recurring subscription fees, and a free trial lets you test the full feature set.
Why a 3D Model Beats Guesswork for Home Offices
Moving furniture in real life is exhausting and error-prone. A 3D home design model removes the heavy lifting. You can instantly see if a 60-inch desk will block the closet door, whether the room feels cramped with a bookshelf, or if your video background looks cluttered. 3D software for home office design gives you the ability to fly through the room and spot conflicts that a 2D blueprint misses. It also helps you communicate your plan with a partner or a remote team, since you can share a rendered image or a walkthrough video instead of trying to describe the layout. According to the 2026 Houzz & Home Study, homeowners who used digital design tools reported fewer change orders and higher satisfaction with the final result. When the clock is ticking before school starts, a 3D model is the fastest path to a workspace that actually works.

Free vs. Affordable 3D Home Design Software: What You Actually Get
Free tools like Sweet Home 3D and SketchUp Free let you draw walls and drop basic shapes. They work for rough ideation, but you quickly hit limits. Furniture catalogs are generic, textures are cartoonish, and you cannot generate photorealistic renders that help you pick the right paint color or wood finish. When you need to model exact IKEA storage units, simulate daylight at 3 p.m., or produce a shopping list of trim pieces, you need a more complete program. ArchiMaster 3D includes a library of true-to-scale brand-name furnishings, advanced lighting engines, and one-click material swaps. As our 3D Home Design Software: 2026 Buyer’s Checklist explains, the difference between free and affordable often comes down to time: a task that takes three hours of manual snapping in a free tool can be done in 20 minutes with smart objects and auto-dimensioning. For a rapid fall project, see our Best 3D Home Design Software for Fall Projects (2026) for a wider comparison.
The pricing model matters too. Some competitors charge monthly subscriptions that add up if you keep the software for reference. ArchiMaster 3D is a one-time purchase that includes all core features for your chosen edition, from the entry-level Home Design to the full Expert suite. You can explore the editions on our products page and start a free trial without entering payment details. That means you can begin your home office layout tonight, see if the tool clicks, and buy only if you want to save and export your plans.
Step 1: Measure Your Space and Create the 3D Floor Plan
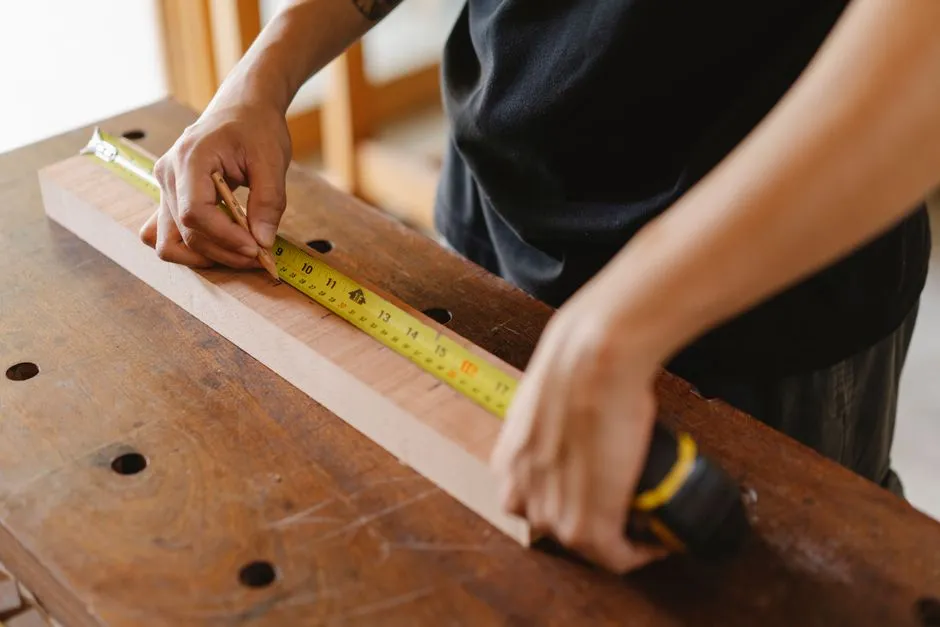
Start with a laser measure or a good old tape measure. Record the length of each wall, the width and height of windows, the swing of doors, and the locations of power outlets. Outlet positions are often the silent dictator of a home office layout; without them in your plan, you may end up with desks and lamps where you cannot plug them in. When you launch your chosen home design software, create a new project and draw the room's footprint using the measured dimensions. In ArchiMaster 3D, the room wizard lets you input wall lengths precisely, then drag windows and doors from a catalog. This step should take under 30 minutes. Once the shell is built, save the base file. You now have a digital twin of your real room, ready for rapid iteration.
Step 2: Arrange Zones for Focus, Video Calls, and Storage
Divide the room into three activity zones: a primary work zone (desk, monitor, chair), a video-call zone (background wall, lighting), and a storage zone (shelves, filing). Use the software's 3D camera to sit virtually at the desk and look toward where your webcam would point. This camera check is where many layouts fail. A 3D view shows exactly what colleagues will see: a blank wall, a messy closet, or a window that turns you into a silhouette. Adjust furniture until the background is clean and professional. Then, test storage access. Place a filing cabinet and open its doors in the model to verify there is enough clearance. A 3D walkthrough prevents the frustration of buying a cabinet that blocks a vent or a door swing. This iterative zone planning, done entirely in software, typically reveals a better layout than the one that first came to mind.
“A 3D model reveals that the best home office layout isn't the one that fits the most furniture, it's the one that fits the way you actually work.”
Step 3: Test Lighting, Ergonomics, and Cable Paths in 3D
Lighting makes or breaks a home office. Use the sun study feature (available in ArchiMaster 3D Ultimate and Expert) to simulate natural light at different times of day. You may discover that at 4 p.m. the sun blasts the screen if the desk faces west. Moving the desk 90 degrees solves it. For artificial light, place recessed or task lamps in the model and toggle shadows to see if your work surface is evenly lit. Next, model your chair and desk at correct ergonomic heights. A standard desk height is 29 inches; if you are tall, you may need a keyboard tray to keep wrists flat. In the 3D view, place a human figure if the software offers one, and check the line of sight to the monitor. The top of the screen should be at or slightly below eye level. Finally, draw a cable management path below the desk in your plan, ensuring there is a route from the power strip to the PC and monitors that does not create a trip hazard. Visualizing cables in 3D might seem excessive, but it is one of those details that separates a chaotic setup from a calm, productive environment.

Avoiding the Two Most Common Home Office Layout Mistakes
Mistake one is pushing the desk flat against a wall. While it saves floor space, it also gives you a wall as your video background, often poorly lit, and makes cable access difficult. Pulling the desk just 12 inches away from the wall creates a shadow gap, allows better air circulation, and gives you a backdrop that can be styled with a low bookcase or a plant. Mistake two is ignoring the door swing and traffic paths. If your home office doubles as a guest room, the door must open fully without hitting the chair. A 3D model lets you animate the door arc and catch these conflicts instantly. Both mistakes are invisible on a floor plan but obvious in a 3D perspective. Investing just 15 extra minutes in the 3D walkthrough before ordering furniture saves hours of reassembly and dozens of choice words.
- Desk depth: at least 30 inches for a monitor arm and keyboard, 36 inches if using a laptop plus external monitor.
- Chair clearance: 36 inches of space behind the desk chair for comfortable movement.
- Walkway width: 30 inches minimum between the desk and the wall or storage unit behind it.
- Monitor distance: 20 to 30 inches from your eyes, with the top third of the screen at eye level.
- Outlet placement: one quad outlet under the desk plus two above for lamps or chargers, pre-planned in the software.
- Can I design a home office for free?
- Yes, free tools like Sweet Home 3D allow basic floor plans and furniture placement. However, they lack photorealistic rendering, accurate lighting simulation, and extensive furnishing catalogs. For a layout you can truly trust before buying furniture, affordable software like ArchiMaster 3D offers a free trial with full features, letting you test everything without commitment.
- How long does it take to design a home office layout in 3D?
- With a room wizard and drag-and-drop catalog items, you can have a walkable 3D model in under an hour. A full weekend is ample to measure the room, build the plan, test three to five furniture arrangements, and generate a final shopping list and render.
- What's the best room shape for a home office?
- Rectangular rooms are easiest, but L-shaped nooks and under-stair spaces can become surprisingly effective focus zones. 3D software helps you maximize awkward corners by showing exact dimensions and clearance, so you can fit a compact desk where you thought nothing would work.
- Should I face a window or a wall?
- Facing a window often causes glare on screens and backlighting on video calls. Placing the desk perpendicular to the window is usually the best compromise, bringing in natural light from the side without reflection. 3D sun studies let you verify this for your specific latitude and time of day.
Try ArchiMaster 3D for free and start designing your new home office this weekend. No credit card required.
Free TrialReady to design with confidence?
See which edition fits the space you’re designing.