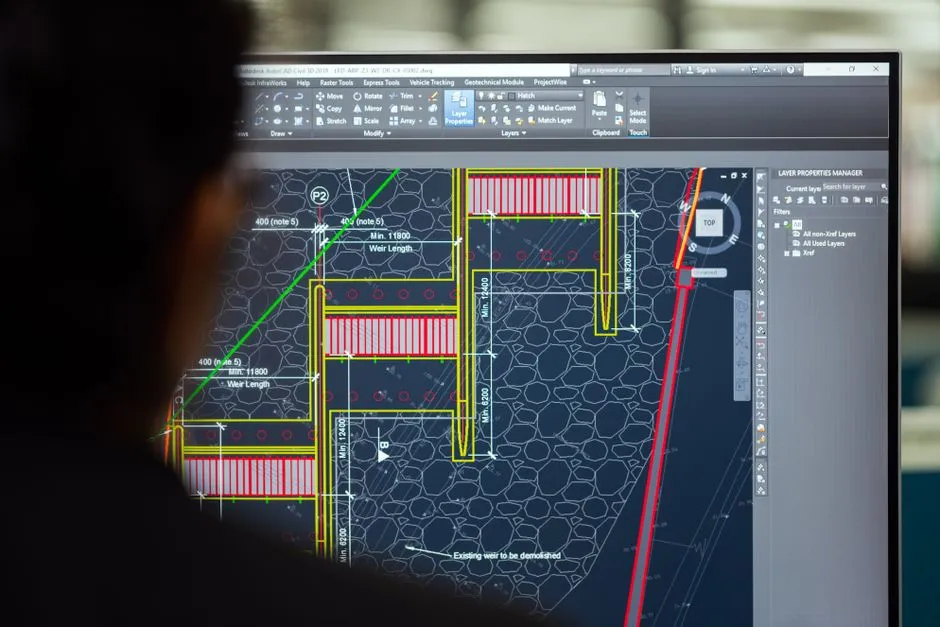
 FIG·01
You can create a detailed 3D model of your house from scratch in under an hour using purpose-built home design software like ArchiMaster 3D. This beginner tutorial guides you step by step through the entire workflow, from drawing the first wall to generating a photorealistic render you can share with contractors. No prior CAD or 3D modeling experience is necessary: the software’s intelligent building tools and drag-and-drop libraries handle the heavy lifting.
- A complete 3D house model includes accurate walls, roof, windows, doors, and interior furnishings, all of which can be placed with drag-and-drop ease.
- ArchiMaster 3D’s intelligent building tools allow a beginner to model a two-story, 1,800-square-foot home in about 40 minutes.
- Real-time 3D navigation and one-click photoreal rendering help you visualize design decisions instantly, avoiding costly construction mistakes.
- You don’t need CAD expertise: the software automates roof generation, auto-dimensions walls, and offers thousands of furnishings to decorate.
Choose the Right Software for 3D House Modeling
Free tools like Sweet Home 3D and SketchUp Free can handle basic massing, but they quickly become limiting for real home projects. SketchUp Free provides no photorealistic rendering engine, and Sweet Home 3D’s object library is small. Professional packages like Chief Architect cost $199 per month and require a steep learning curve. ArchiMaster 3D bridges the gap. It is purpose-built for homeowners, remodelers, and designers, with a single purchase, you get full photorealistic ray-tracing, automatic roof generation, and a catalog of thousands of brand-name furnishings. The same engine across editions means you can grow from the Ultimate Home Design edition to specialized Kitchen & Bath tools without relearning the interface.
Prepare Your Floor Plan and Measurements
Start with accurate dimensions. If you have an existing floor plan on paper, scan it and import the image into ArchiMaster 3D as an underlay (File > Import > Underlay). Scale the image so a known dimension matches. Then trace walls with the Wall tool. Alternatively, import a .dwg or .dxf CAD file and the software will convert it into editable 3D walls. Taking 20 minutes to measure your actual rooms, wall lengths, openings, ceiling heights, will save you hours of rework later. As a rule, set your drawing units to inches with 1/16-inch precision for construction-grade accuracy. Download a free trial to follow along.
Build the Shell: Walls, Floors, and Ceilings
In ArchiMaster 3D, switch to 2D Floor Plan view. Select the ‘Straight Wall’ tool, click to start, drag, and either click again or type a precise length (e.g., 14 ft 6 in) and press Enter. The tool automatically snaps to 90-degree angles. Draw the perimeter, then use the ‘Auto-Room Divider’ to create interior partitions. For each enclosed area, the software identifies a ‘Room’ and you can set its name, floor, and ceiling height in the Room Specification dialog. A standard home has 8-ft or 9-ft ceilings; if you’re planning a vaulted ceiling, leave that for the roof stage. After defining the first floor, copy the shell to a second floor with Edit > Copy and Edit > Paste in Place, then adjust. Turn on 3D view (Camera > 3D Perspective) to walk through the empty shell, check for wall alignment and missing connections.
Design the Roof: Automatic and Manual Options
Designing a roof by hand from polygons is tedious. ArchiMaster 3D’s Roof Wizard simplifies this dramatically. With the shell selected, click Build > Roof > Build Roof. Choose a roof style (gable, hip, shed, or Dutch gable), set the pitch (4/12 to 12/12 are common), overhang depth, and fascia style. The software generates the roof automatically, trimming walls and adding a finished ceiling underneath. If the result needs adjustment, click the edge of a roof plane and change its slope or baseline height in the properties panel. For complex intersecting roofs, use manual roof planes: draw a plane, slope it, and the tool will cut the adjacent planes with a single mouse drag. One often overlooked step: after the roof is in place, switch to the attic level and verify headroom. If you want a finished attic, lower the floor or raise the roof with the ceiling off option.

Add Doors, Windows, and Interior Details
ArchiMaster 3D’s library includes thousands of windows and doors from real manufacturers like Pella, Marvin, and Kolbe. Filter by type (casement, double-hung, sliding, French door) and width/height. Drag a window onto a wall, and the software cuts the opening for you. For precision, click the window, open the Object Properties panel, and set the Distance from Floor (e.g., 36 in for windows) and the X/Y position from wall ends. After placing, orbit the exterior view to confirm alignment. For a deeper dive into room-specific detailing, see our tutorial on designing a kitchen in 3D with ArchiMaster 3D’s Kitchen & Bath tools.
Decorate and Assign Realistic Materials
The difference between a flat model and a compelling presentation lies in materials. Use the Material Painter (spray icon) to drag any texture from the catalog onto walls, floors, or countertops. The library includes a broad palette of actual manufacturers’ colors and patterns: Benjamin Moore paints, Sherwin-Williams, hardwood, tile, and stone. For custom finishes, import your own photograph of the material; the software tiles it automatically. Apply a material to all four walls of a room with one click by dropping it onto the room name in the project tree. Then furnish: browse the Furniture, Accessories, and Electronics libraries and drop items into 3D or plan view. Align them with the Move and Rotate tools, and use the Measurement tool to verify clearances around furniture (ideal dining walkway is 36 inches wide).
Render and Export Your Masterpiece
With the model complete, it’s time for photorealistic rendering. In ArchiMaster 3D, switch to ‘Photo Realistic’ view or open the Ray Trace Panel. Set image resolution (up to 4K), turn on sun and artificial lights, and click Render. A 4K interior render typically completes in 1–3 minutes. You can also create a 360° panorama (click the Pano icon) or a walkthrough video. Export the model as a .jpg.png, or .dwg file to share with a design-build firm. For hyper-realistic results that mimic photographs, the newest AI-driven rendering tools can take your image further, read our roundup of 2026’s best AI photorealistic rendering tools to see how one-click AI enhancement works with ArchiMaster 3D exports.
Quick Render Pro Tips
- Place a camera at standing eye level (5 ft 6 in) and tilt slightly down for a natural perspective.
- Use three-point lighting: fill, key, and rim. ArchiMaster 3D’s adjustable sun and lamp objects make this easy.
- For exterior shots, add trees, shrubs, and fencing to frame the scene, overgrown foliage looks more lived-in than a bare lawn.
- Enable soft shadows and reflections only for the final render; disable them while editing to keep navigation smooth.
- Render at 1024×768 first for a quick preview, then go to 3840×2160 only when you’re satisfied.
“A well-built 3D model catches design clashes before a single board is cut, saving thousands in rework.”, ArchiMaster 3D Design Team
- What is the easiest way to make a 3D model of my house?
- Use purpose-built home design software like ArchiMaster 3D, which provides step-by-step wizards for walls, roofs, and interior decoration. Beginners can complete a basic model in about 40 minutes. For a free trial, visit the downloads page.
- Can I import my existing floor plan into 3D modeling software?
- Yes. ArchiMaster 3D imports scanned images to use as underlays for manual tracing. It also imports CAD files in .dwg and .dxf formats and converts them into editable 3D walls automatically.
- How long does it take to build a 3D house model as a beginner?
- Plan on 40–60 minutes for a simple 1,500-square-foot house with standard roof and minimal custom furniture. More complex roofs and precise trim detailing will extend that to 2–3 hours.
- Do I need a powerful computer to run ArchiMaster 3D?
- ArchiMaster 3D runs smoothly on any Windows PC with 8 GB of RAM and a dedicated graphics card from the last five years. For photorealistic rendering, a multi-core CPU and 16 GB of RAM are recommended.
- Can I get a free trial to try it out?
- Absolutely. ArchiMaster 3D offers a 15-day fully functional free trial. You can download it directly from the downloads page and follow this guide to build your first model today.
Start Building Your 3D House Model Today. Download a free trial of ArchiMaster 3D and follow this guide to create your first model in under an hour.
Download Free TrialReady to design with confidence?
See which edition fits the space you’re designing.